As a long-time Genshin Impact player who’s spent countless hours optimizing team comps and chasing high-damage rotations, I was thrilled when Skirk, the 5-star Cryo DPS, made her debut on the Void Star’s Advent banner in 2025. Right off the bat, I noticed she’s a formidable damage dealer even at C0, but I quickly wondered if investing in her constellations would be worth the Primogems and Intertwined Fates. After months of testing, theorycrafting, and comparing builds, I’ve put together a detailed breakdown of each of Skirk’s constellations, their combat value, and which ones are non-negotiable for players looking to maximize her potential.
First, let’s address the core question: are Skirk’s constellations worth pulling for? In my experience, the answer is a resounding yes. Unlike some characters whose constellations only offer minor quality-of-life tweaks or niche buffs, every single one of Skirk’s constellations directly boosts her damage output or combat utility. None of them are filler, and the raw damage gains are significant enough to set a constellation-upgraded Skirk apart from her C0 counterparts. For most players, the first two constellations are the most impactful, but even the later tiers offer meaningful improvements that can elevate her performance in endgame content like Spiral Abyss.
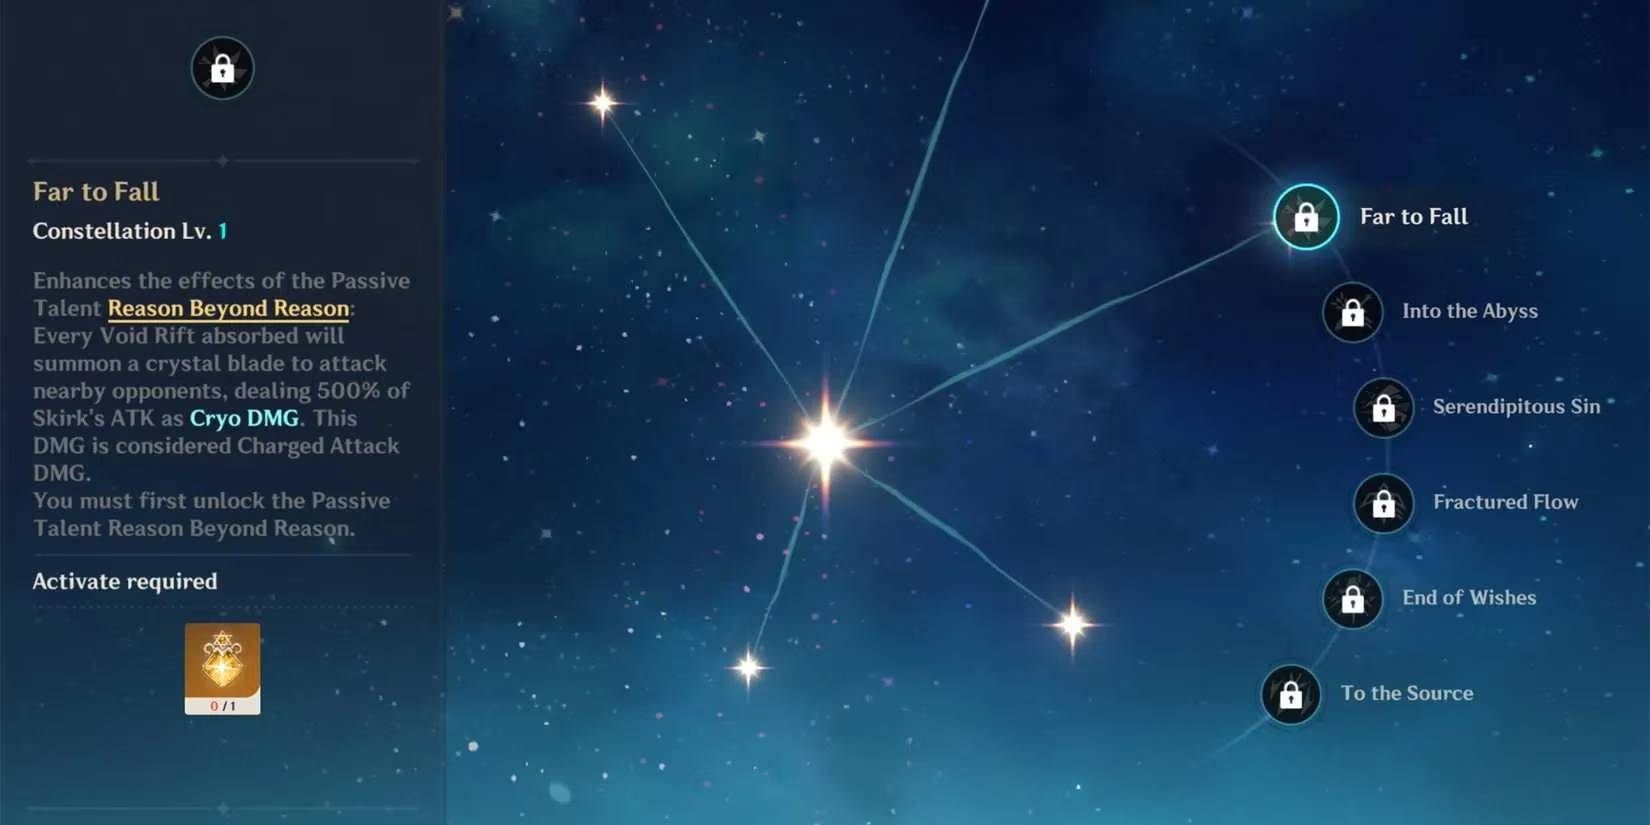
Let’s start with C1, the first constellation most players will unlock if they pull multiple copies of Skirk. C1 grants Skirk the ability to deal extra damage to enemies whenever she absorbs a Void Rift—an action that’s central to her entire gameplay loop. Her team’s primary role is to set up Void Rifts for Skirk to absorb mid-combat, so this buff is almost always active during her rotation. The only downside I’ve noticed is that this extra damage scales with Charged Attack DMG, a stat Skirk doesn’t prioritize. Unlike most Cryo DPS units, Skirk’s kit is built around Normal Attacks and Elemental Burst damage, so Charged Attack DMG is a secondary stat at best. Even with that limitation, the extra damage from C1 is noticeable, especially in longer fights where she absorbs multiple Void Rifts.
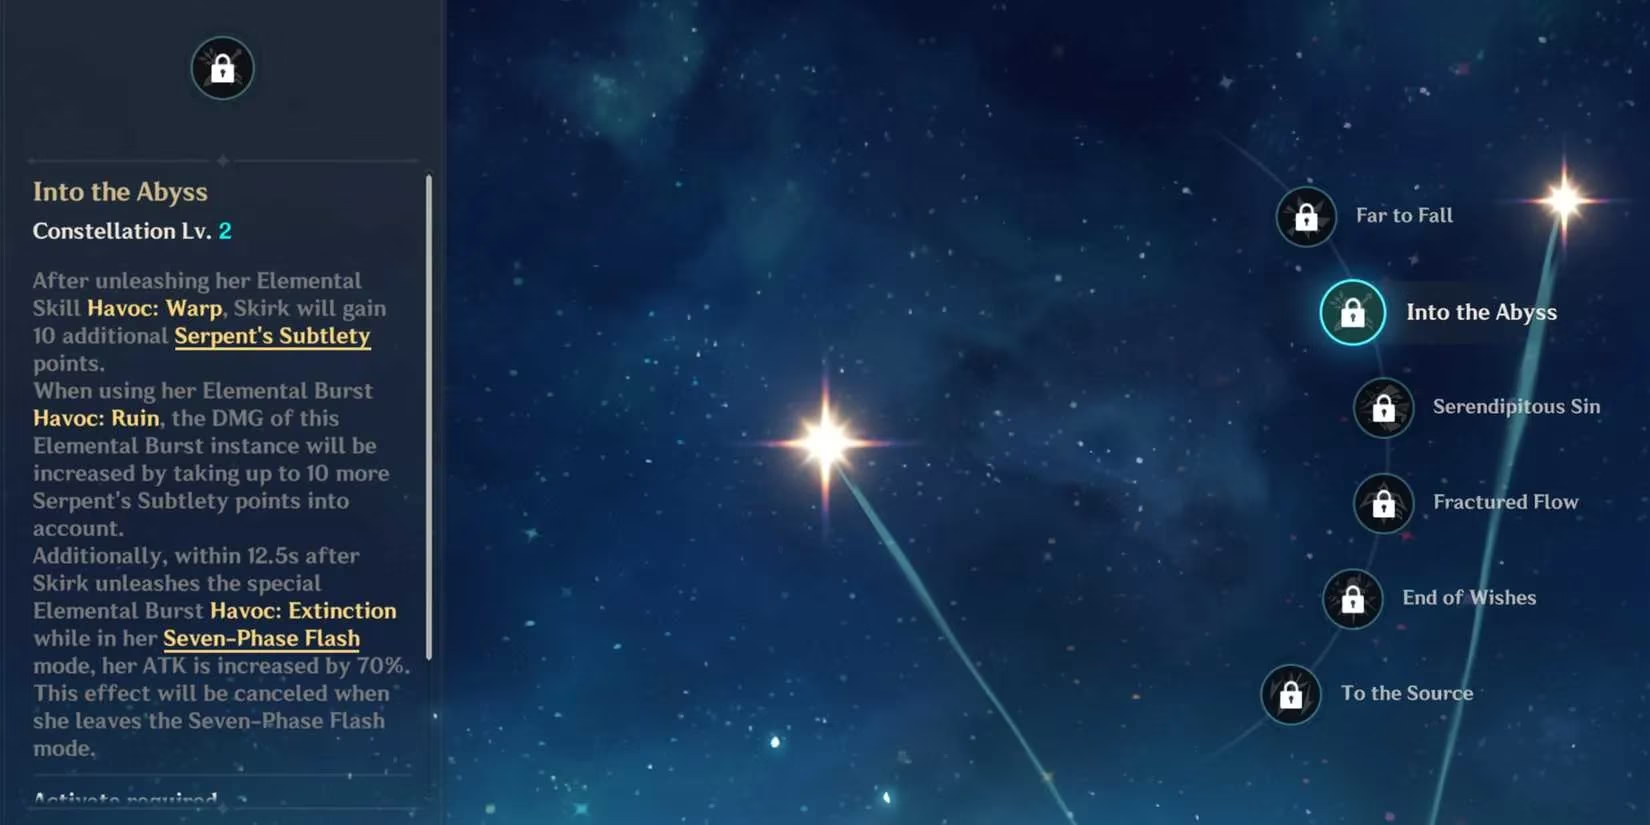
C2 is where Skirk’s damage potential really starts to shine, and it’s widely considered one of her most impactful constellations. This tier extends her on-field duration, allowing her to maintain her damage buffs for longer periods, but the real game-changer is the 70% ATK boost she gains when casting her Elemental Burst while in her Seven-Phase Flash state. For context, Seven-Phase Flash is Skirk’s signature buff state, which she enters after absorbing a Void Rift and activating her Elemental Skill. The 70% ATK buff is massive—far larger than most support characters can provide—and it applies to all of her damage types, including her Normal Attacks and Elemental Burst. I’ve seen my Skirk’s Burst damage jump by over 50% after unlocking C2, making her capable of one-shotting high-HP enemies in Spiral Abyss.
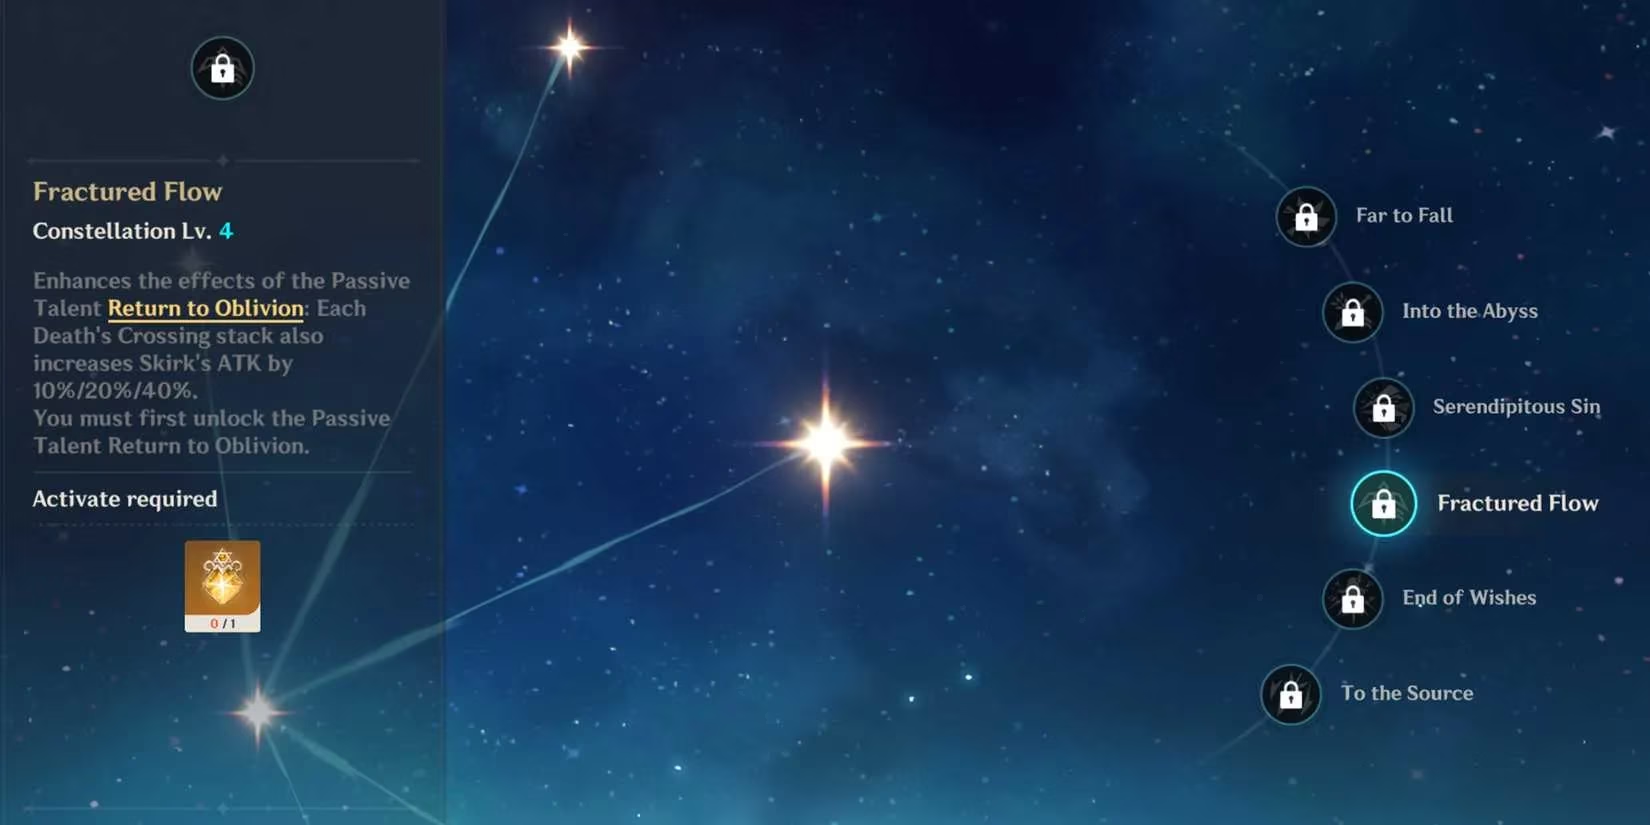
Moving on to C4, this constellation offers a more subtle but still valuable buff. C4 grants Skirk up to 40% extra ATK when stacking her fourth Ascension passive. The Ascension passive in question is a stacking buff that increases her ATK as she lands hits on enemies, so it’s easy to max out during a typical rotation. While the 40% ATK boost isn’t as dramatic as C2’s 70% buff, it’s an unconditional, permanent damage increase that applies to all of her attacks. For players who already have C1 and C2, C4 is a solid next step, as it adds a consistent layer of damage without requiring any changes to their existing rotation.
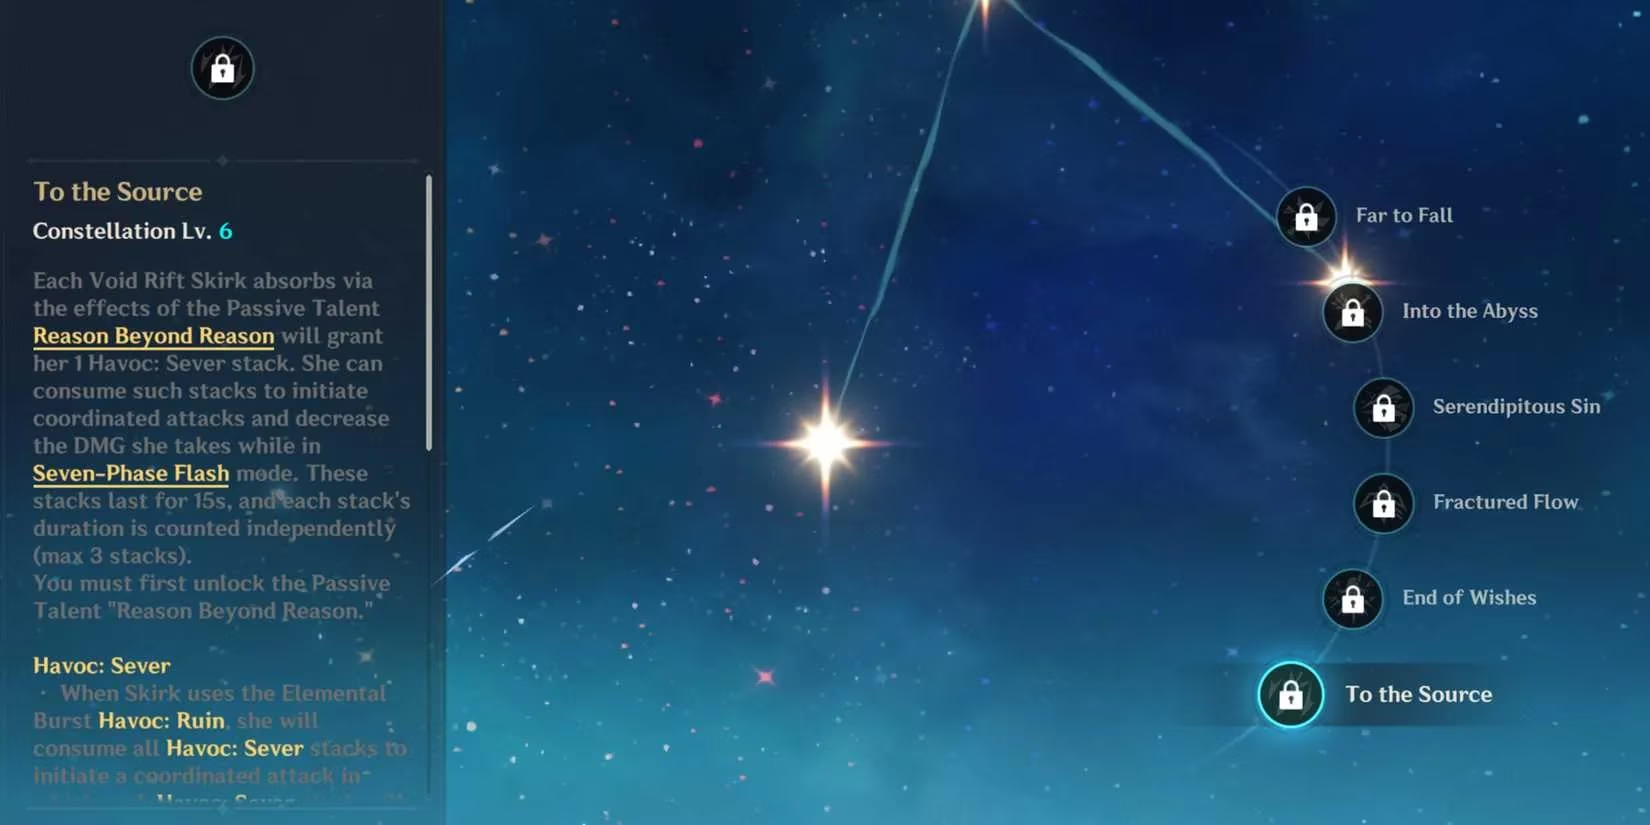
Finally, C6 is Skirk’s ultimate constellation, and it transforms her into a near-unstoppable damage machine. At C6, Skirk gains the ability to build up Havoc: Sever stacks every time she absorbs a Void Rift. These stacks can be consumed in two primary ways: by casting her Elemental Burst, which deals massive extra damage per stack, or by using her Normal Attacks, which consume stacks to deal additional damage. Both of these consumption methods scale with Skirk’s preferred damage types—Elemental Burst DMG and Normal Attack DMG—so there’s no wasted potential here. I’ve tested C6 Skirk in Spiral Abyss, and she’s capable of clearing entire floors in a single rotation, thanks to the explosive damage from her stacked Havoc: Sever buffs. While C6 is obviously the most expensive constellation to unlock, it’s well worth it for players who want to push Skirk’s damage to the absolute limit.
To wrap up, Skirk’s constellations are some of the most impactful in Genshin Impact, with every tier offering meaningful damage gains. For most players, C1 and C2 are the top priorities, as they provide the biggest bang for their Primogem buck. C4 is a solid upgrade for those who want to further boost her performance, and C6 is the ultimate goal for dedicated Skirk mains. Whether you’re a casual player looking to clear Spiral Abyss or a competitive player chasing high-damage records, investing in Skirk’s constellations is a decision you won’t regret.