The distinguished daughter of the Tenryou Commission's prestigious Kujou Clan stands as one of the most tactically demanding support characters available to players. This fierce tengu warrior wields an Electro Bow with precision and purpose, offering substantial benefits to teams willing to invest time mastering her intricate mechanics. As a four-star rarity character, she has become accessible to many adventurers throughout their journey, making her optimization knowledge valuable for a broad player base.

Her combat effectiveness relies heavily on precise aiming mechanics and carefully orchestrated ability rotations. Unlike more straightforward support characters who provide passive benefits, this tengu warrior demands active engagement and strategic timing from her operator. Players who dedicate themselves to understanding her kit will discover a formidable ally capable of amplifying team damage output while contributing meaningful offensive pressure herself.
🎯 The Charged Attack Philosophy
A common misconception among players centers around her Second Constellation unlock. This advancement allows her Elemental Skill to automatically generate a Crowfeather at her teleportation destination, seemingly eliminating the necessity for Charged Attack execution. While this undeniably streamlines her rotation sequence and reduces field time requirements, completely abandoning her Charged Attack mechanics represents a significant tactical error.
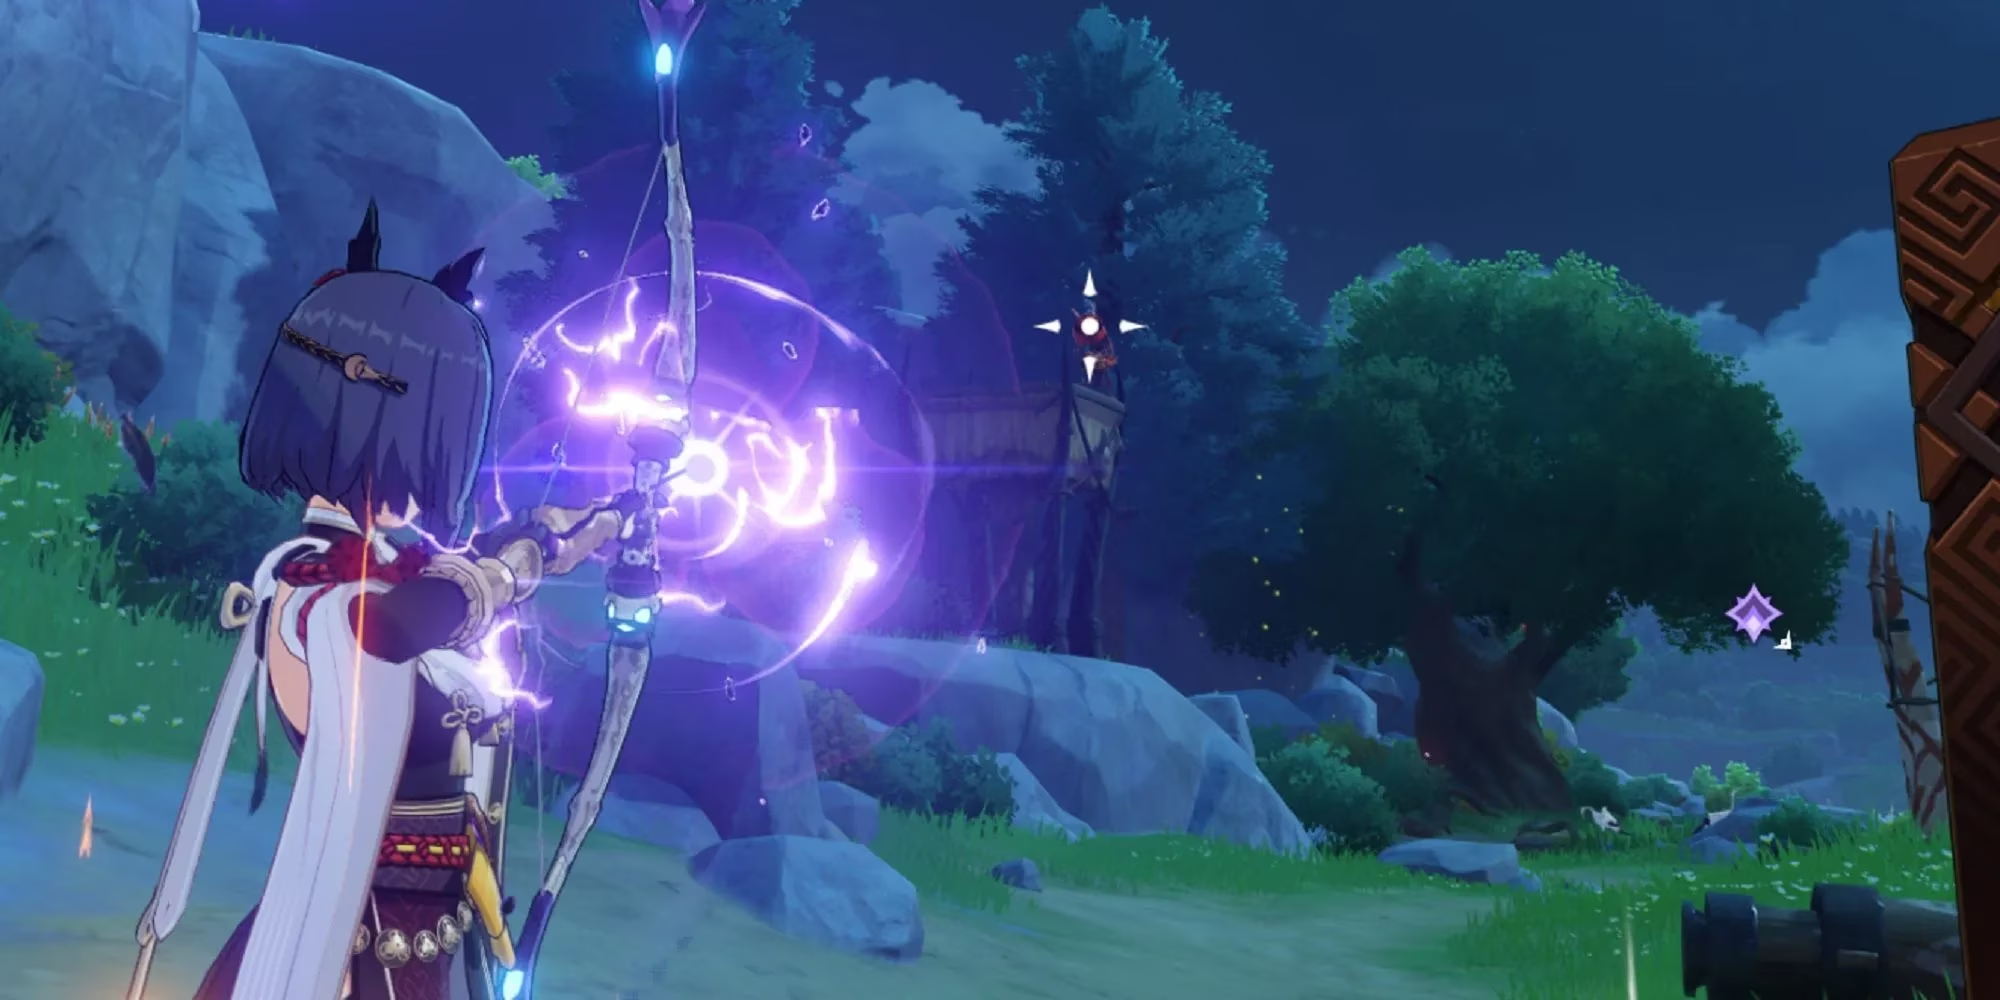
The Charged Attack serves multiple critical functions beyond simple damage output:
-
Primary Electro Particle Generation: Her most reliable method for energy regeneration
-
Substantial Personal Damage: A meaningful contribution to overall team DPS
-
Crowfeather Detonation Control: Precise positioning of buff zones
-
Skill Expression Opportunities: Rewards mechanical proficiency
Even after obtaining the Second Constellation, maintaining Charged Attack integration within rotations proves optimal. Advanced players can leverage the constellation-generated Crowfeather to enhance the Charged Attack itself, creating a self-amplifying damage loop that maximizes her field presence value.
⚡ Optimal Ability Sequencing
Both her Elemental Skill and Elemental Burst provide Attack percentage buffs to characters struck by their effects, including the tengu warrior herself. This self-buffing capability forms the foundation of her most powerful rotation pattern, often overlooked by players who view her solely as a team buffer.
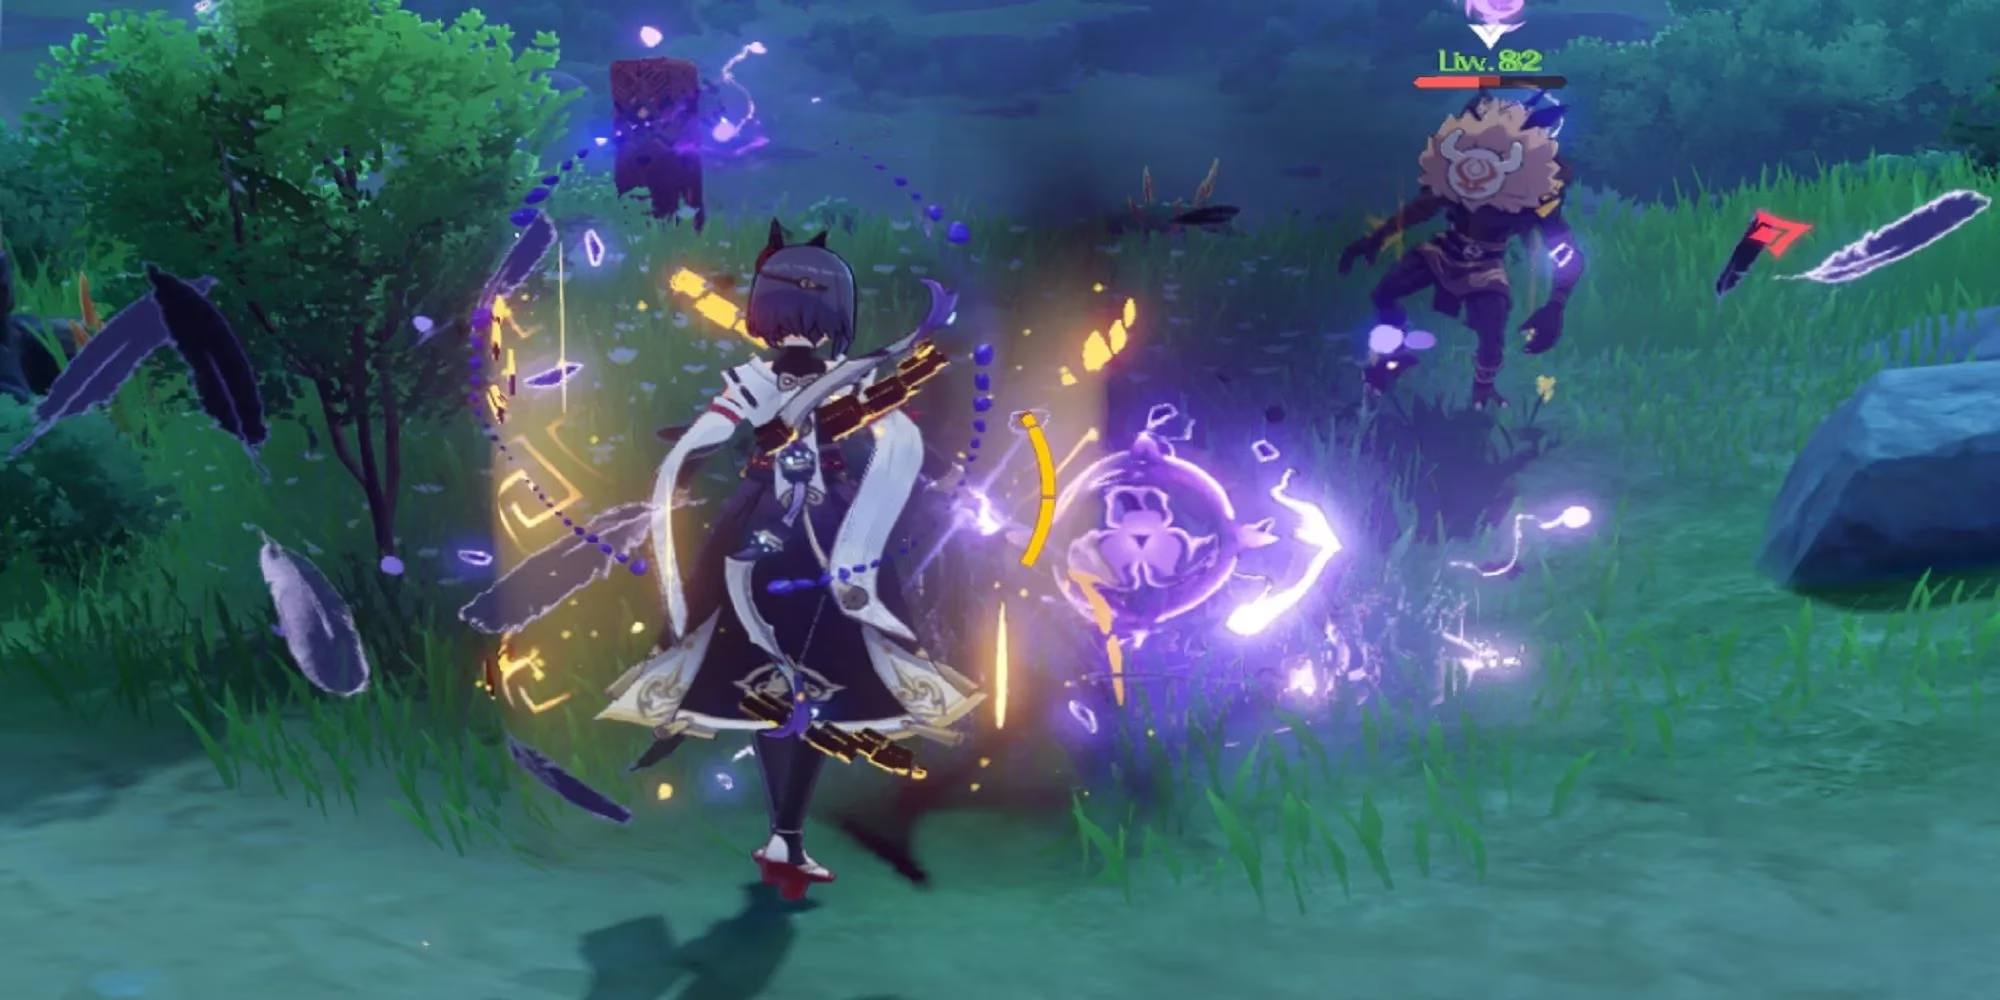
The premium rotation sequence follows this structure:
-
Immediate Skill Activation: Upon character swap, trigger her Elemental Skill
-
Charged Shot Execution: Aim either at enemy targets or ground position near yourself
-
Crowfeather Detonation: Receive the Attack buff lasting six seconds
-
Burst Deployment: Launch her amplified Elemental Burst
-
DPS Character Swap: Transition to primary damage dealer for Burst buff reception
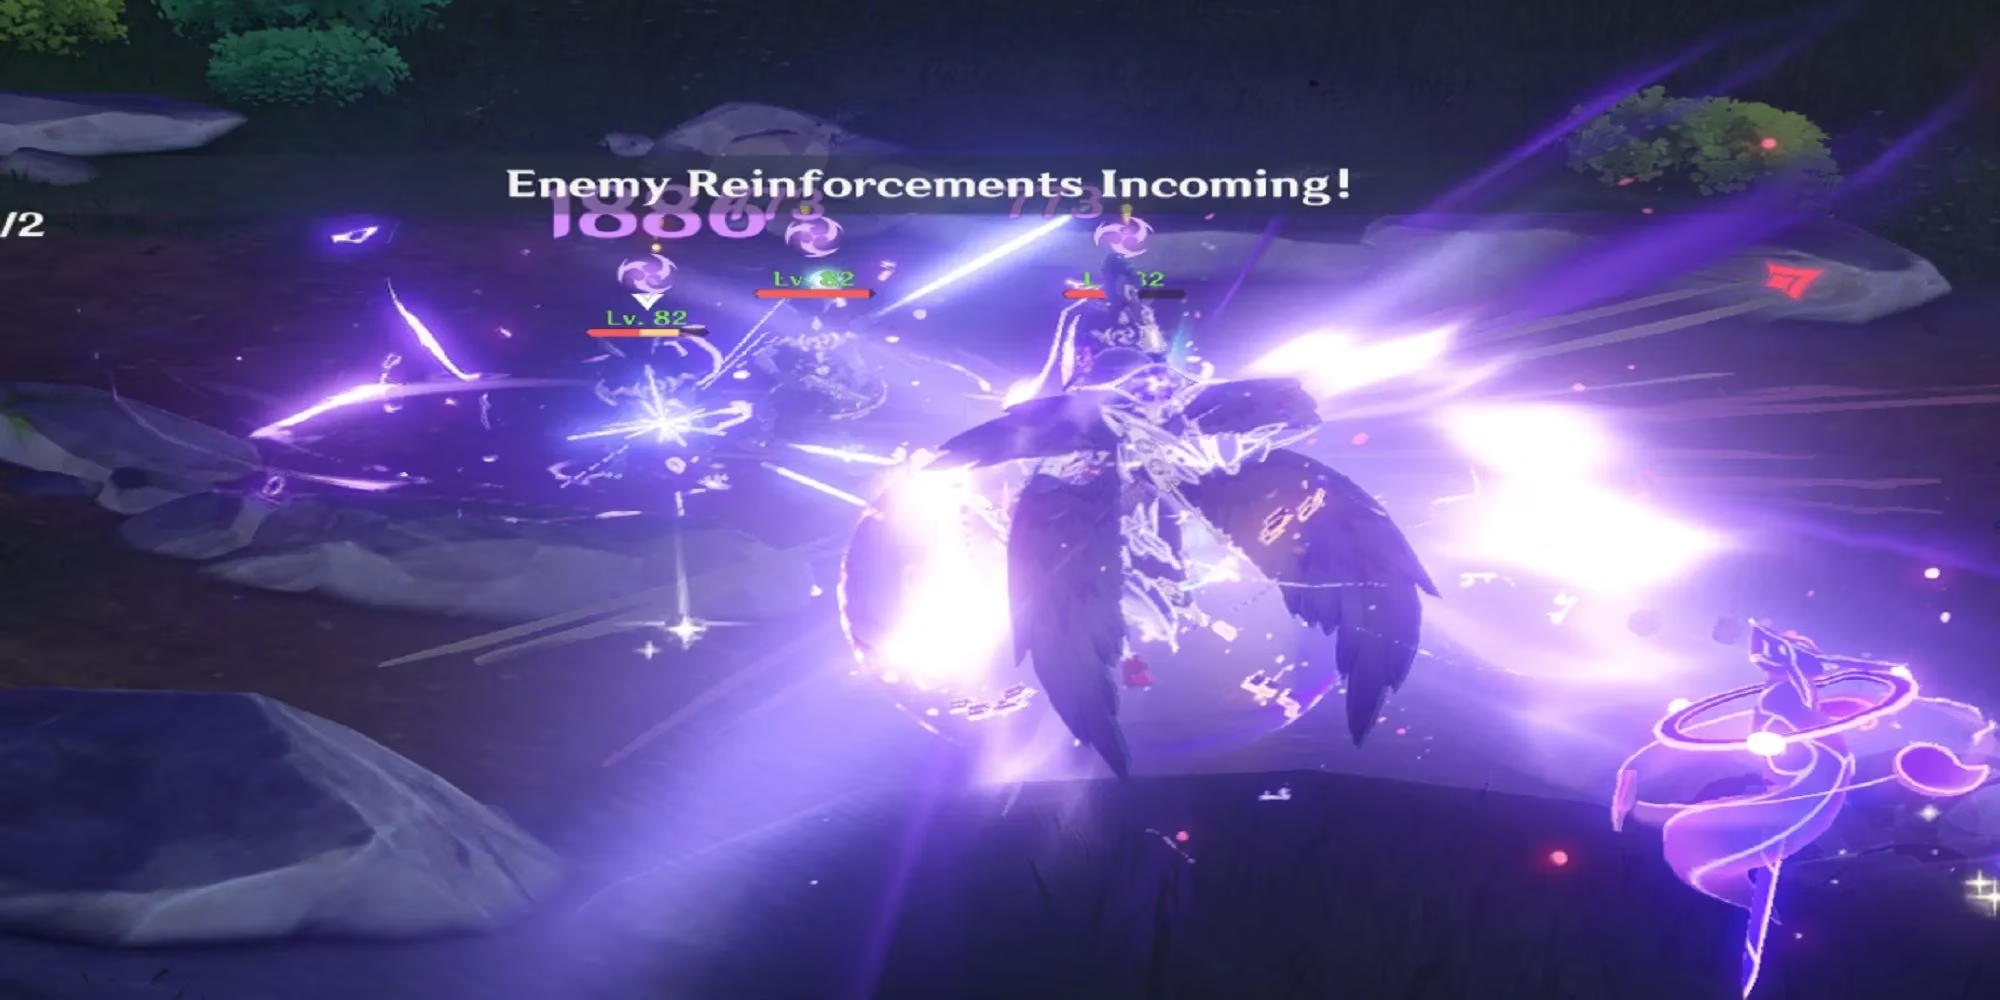
This approach ensures her Elemental Burst benefits from her own Attack amplification, significantly increasing its damage output. The Burst's lightning strikes then transfer that augmented buff value to your main carry, creating a cascading power increase across your entire damage window.
📊 Energy Recharge Requirements
Energy management represents perhaps the most crucial stat consideration for effective deployment. Her Elemental Burst carries an 80-energy cost, positioning it among the more expensive abilities in the game. Without adequate Energy Recharge investment, maintaining consistent Burst availability becomes problematic, severely limiting her team contribution potential.
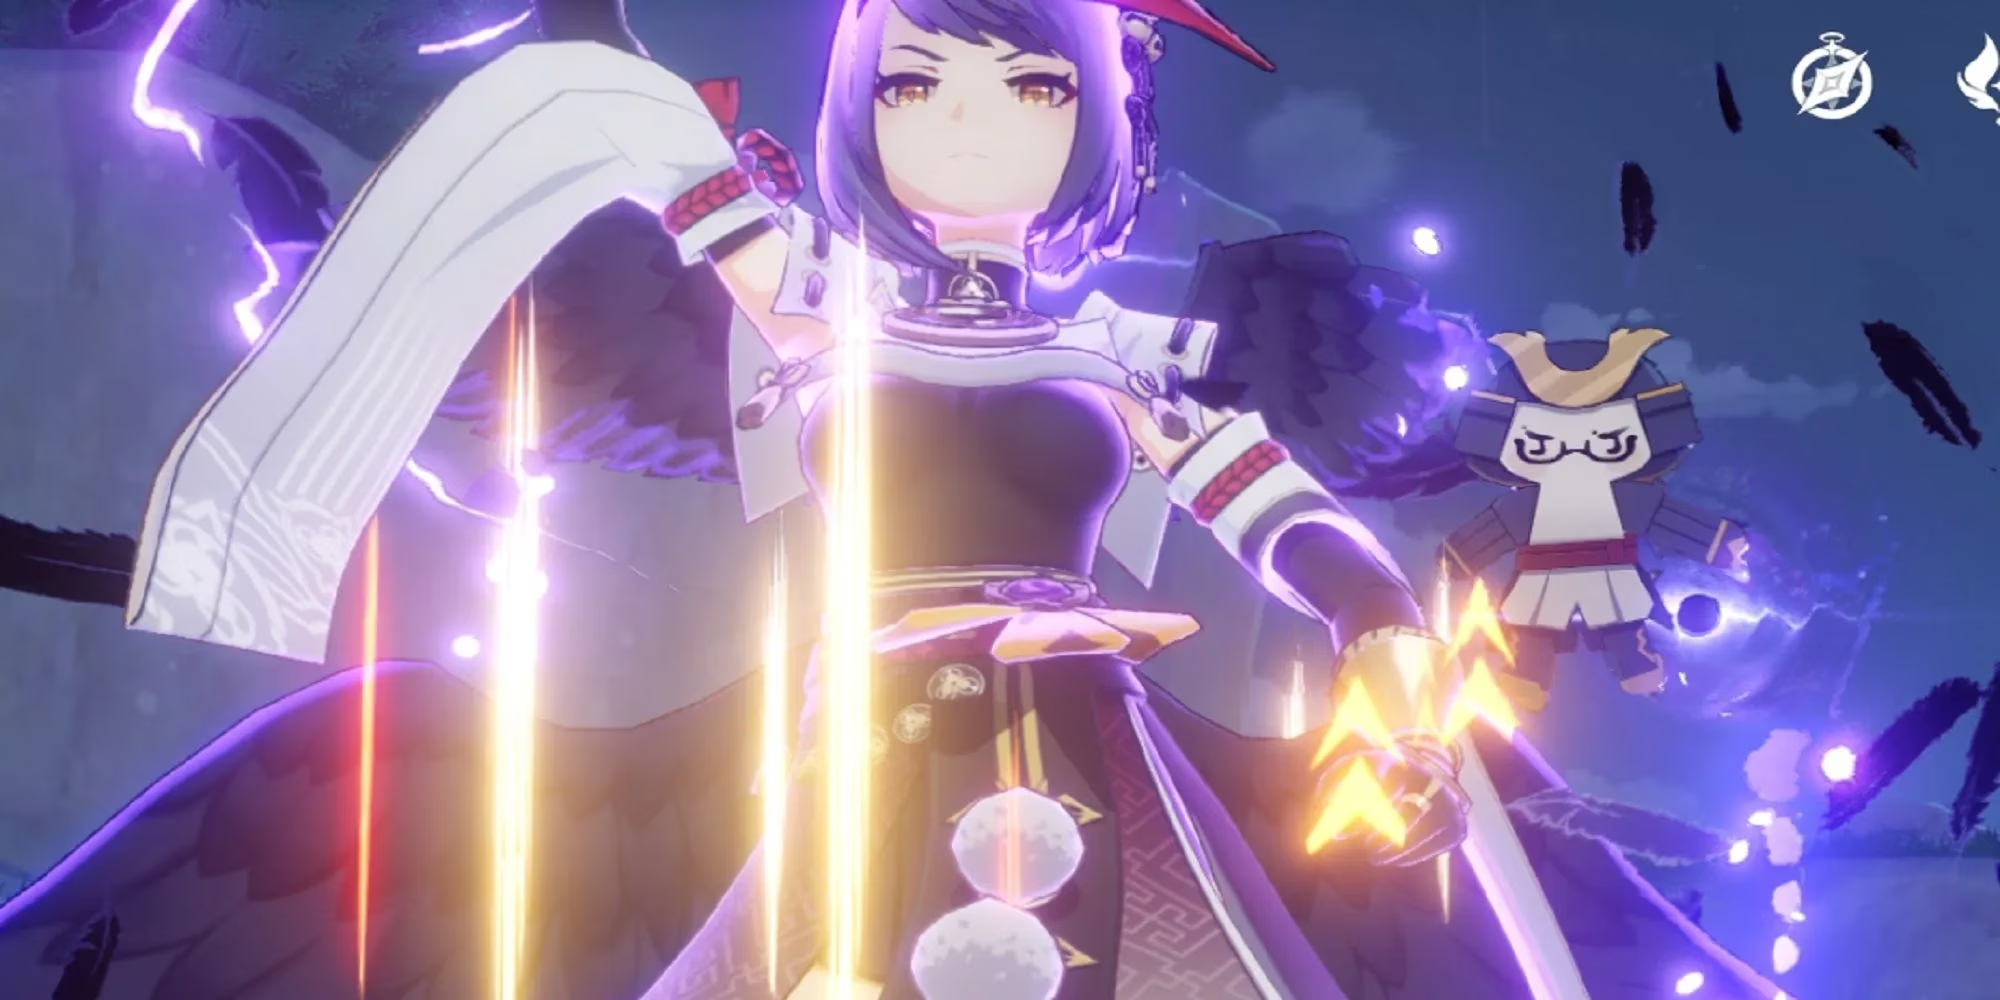
Recommended Energy Recharge targets:
| Team Composition | Energy Recharge Target | Notes |
|---|---|---|
| Mono-Electro | 180-200% | Multiple batteries available |
| Dual Electro | 200-220% | Standard configuration |
| Solo Electro | 240%+ | Requires significant investment |
Achieving approximately 200 percent Energy Recharge enables Burst availability during every field rotation under typical circumstances. Weapons featuring Energy Recharge secondary statistics, particularly the Sacrificial Bow with its skill cooldown reset potential, greatly assist in meeting these thresholds. The Emblem of Severed Fate artifact set offers dual benefits, providing both Energy Recharge and Burst damage amplification, making it an ideal choice for optimization.
👥 Electro Team Synergies
Deploying this tengu warrior within Electro-focused team compositions addresses energy concerns while unlocking her full potential. Electro elemental resonance reduces Elemental Burst cooldowns, and same-element particles provide triple the energy value compared to off-element particles, dramatically improving her ability uptime.
Optimal Electro teammates include:
-
Raiden Shogun: Directly charges Burst energy during her own Burst duration
-
Fischl: Classic off-field Electro application and particle generation
-
Beidou: Additional Burst damage and defensive utility
-
Yae Miko: Consistent Electro application with turret mechanics
Her Sixth Constellation transforms Electro team compositions into powerhouse configurations. This advancement grants 60 percent Critical Damage increase to any character receiving her buff effects, applicable exclusively to Electro damage. With proper rotation management, this substantial stat boost achieves near-permanent uptime, effectively providing Electro damage dealers with an always-active damage multiplier that rivals five-star weapon passives.
Mono-Electro team compositions featuring her at C6 have demonstrated clear speeds competitive with traditional meta teams, particularly against bosses and elite enemies where her Burst's concentrated damage and buff application shine brightest.
🤝 Cooperative Play Advantages
While solo content represents the primary gameplay experience, cooperative domains and boss encounters offer unique opportunities for her kit to excel. Her ranged nature and ability to position buff zones from distance make her exceptionally valuable in multiplayer scenarios where coordination proves challenging.

Cooperative advantages:
-
Safe Buff Application: Can support allies from maximum range
-
Flexible Positioning: Crowfeather placement adaptable to team needs
-
Multi-Strike Burst: Tengu Juurai: Stormcluster hits multiple times against large targets
-
Energy Generation: Particles benefit all Electro users in party
-
Rotation Independence: Doesn't require specific team compositions
Large boss encounters such as Azhdaha, Signora, or the Thunder Manifestation provide ideal scenarios for her Burst's multi-hit nature. Each lightning strike can potentially trigger buff applications to different teammates, and the concentrated nature of these fights ensures maximum value from her six-second buff windows.
🛡️ Defensive Utility Considerations
As a bow-wielding character, maintaining distance from enemies represents standard operating procedure. However, aggressive opponents or positioning errors can result in dangerous close-quarters situations where her fragility becomes apparent. Her Elemental Skill's backwards teleport provides a tactical repositioning tool, though understanding its limitations proves essential.
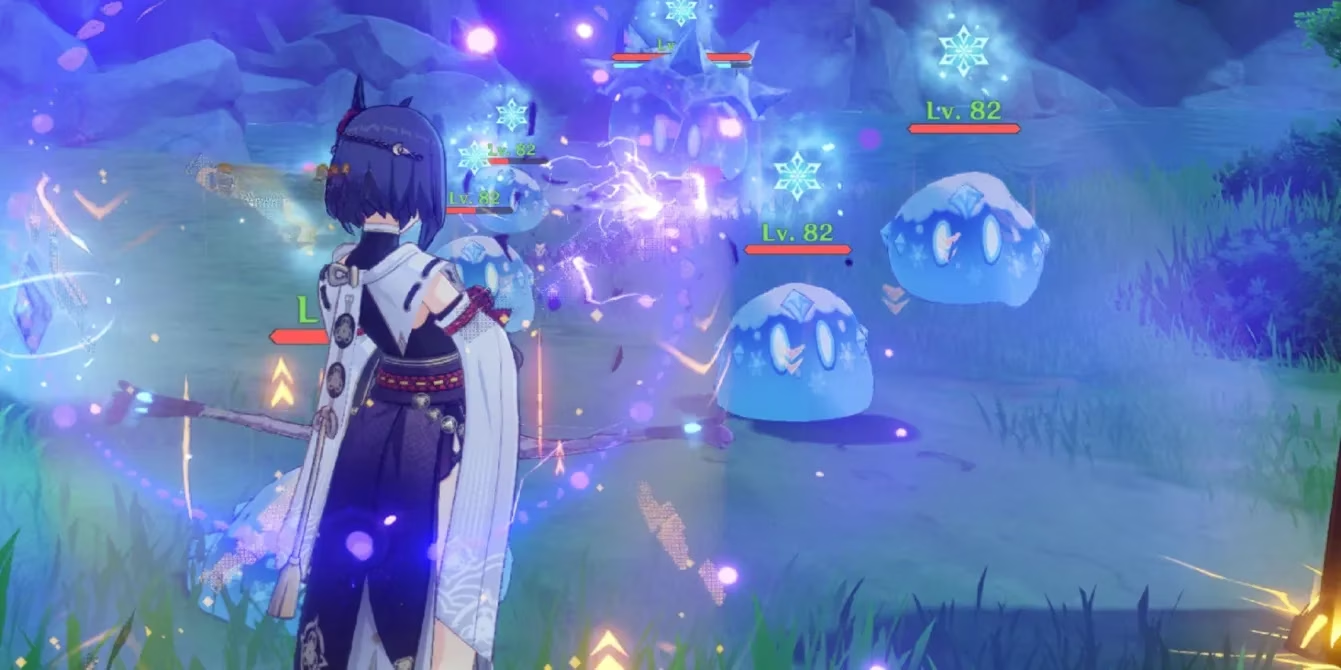
The teleport mechanic offers legitimate defensive utility:
-
Emergency Repositioning: Quick escape from melee range
-
Attack Dodging: Can avoid incoming damage with proper timing
-
Stamina Conservation: Doesn't consume stamina unlike traditional dodging
-
Rotation Integration: Defensive benefit doesn't cost DPS
However, critical limitations exist. The teleport animation does NOT provide invulnerability frames, meaning attacks with large hitboxes or extended active frames can still connect mid-teleport. Enemies with tracking attacks or area-of-effect abilities require additional spacing beyond the teleport distance alone. Players must recognize when the teleport suffices for repositioning versus when shield support or extended dodging becomes necessary.
Team compositions incorporating shielders such as Zhongli, Diona, or Thoma significantly enhance her comfort and consistency. These defensive layers allow focus on offensive rotation execution without constant interruption concerns, maximizing her team contribution potential.
💎 Investment Priorities
Optimizing this character requires understanding which improvements provide the greatest returns:
Talent Priorities:
-
Elemental Burst (highest damage scaling and team buff)
-
Elemental Skill (particle generation and personal damage)
-
Normal Attack (lowest priority, rarely used)
Constellation Value:
-
C2: Quality of life improvement, significantly speeds rotations
-
C6: Massive power spike for Electro teams, transformative
-
C1/C3/C4/C5: Minor improvements, not gamechanging
Artifact Stat Priorities:
-
Energy Recharge to threshold (200%+)
-
Critical Rate/Critical Damage (balanced ratio)
-
Attack percentage
-
Electro Damage Bonus (goblet)
🎮 Advanced Techniques
Experienced players can implement additional optimizations:
Crowfeather Aiming: Placing Crowfeathers at your feet ensures immediate buff reception and eliminates positioning uncertainty. This technique proves particularly valuable during time-sensitive rotations or chaotic combat scenarios.
Burst Timing: Her Burst's ATK buff snapshots upon cast, meaning the buff value remains constant even if her own ATK decreases afterward. This allows chaining multiple buffs without concern for expiration timing.
Animation Canceling: After firing her Charged Attack, immediately pressing the Skill button again can cancel recovery frames, shaving precious milliseconds from her field time requirements.
Energy Funneling: Swapping to her just before other Electro characters generate particles ensures she receives those particles, maximizing energy gain efficiency.
🌟 Future Considerations
As the game continues evolving with new character releases and content additions, her role within the meta maintains relevance. Her unique combination of Attack buffing and Critical Damage amplification (at C6) occupies a distinctive niche that complements rather than competes with other support options. Electro-focused teams benefit particularly from her presence, and as additional Electro damage dealers enter the roster, her value proposition strengthens correspondingly.
Investment into this tengu warrior rewards players seeking to optimize Electro team compositions or those who appreciate mechanically engaging support gameplay. While she demands more from her operator compared to passive support characters, mastering her kit provides both performance benefits and gameplay satisfaction. Her accessibility as a four-star character makes her an achievable optimization target for free-to-play and low-spending players alike, democratizing access to powerful team buffing capabilities previously locked behind five-star characters.
Understanding her mechanics, respecting her energy requirements, and properly sequencing her abilities transforms this tengu warrior from a confusing character into a formidable team asset capable of enabling impressive damage showcases and clearing the game's most challenging content.