Have you ever found yourself lost in the sprawling desert ruins of Genshin Impact's Desert of Hadramaveth? The Dirge of Bilqis questline, introduced in version 3.4, stands as one of the most intricate and rewarding adventures you'll encounter. This massive World Quest not only unlocks substantial portions of the new desert region but also reveals numerous hidden Dendroculus locations that completionists crave. But here's the thing—its complex puzzles and multi-layered challenges can leave even experienced Travelers scratching their heads. So how do you navigate this labyrinthine questline without losing your way?
Prerequisites and Getting Started
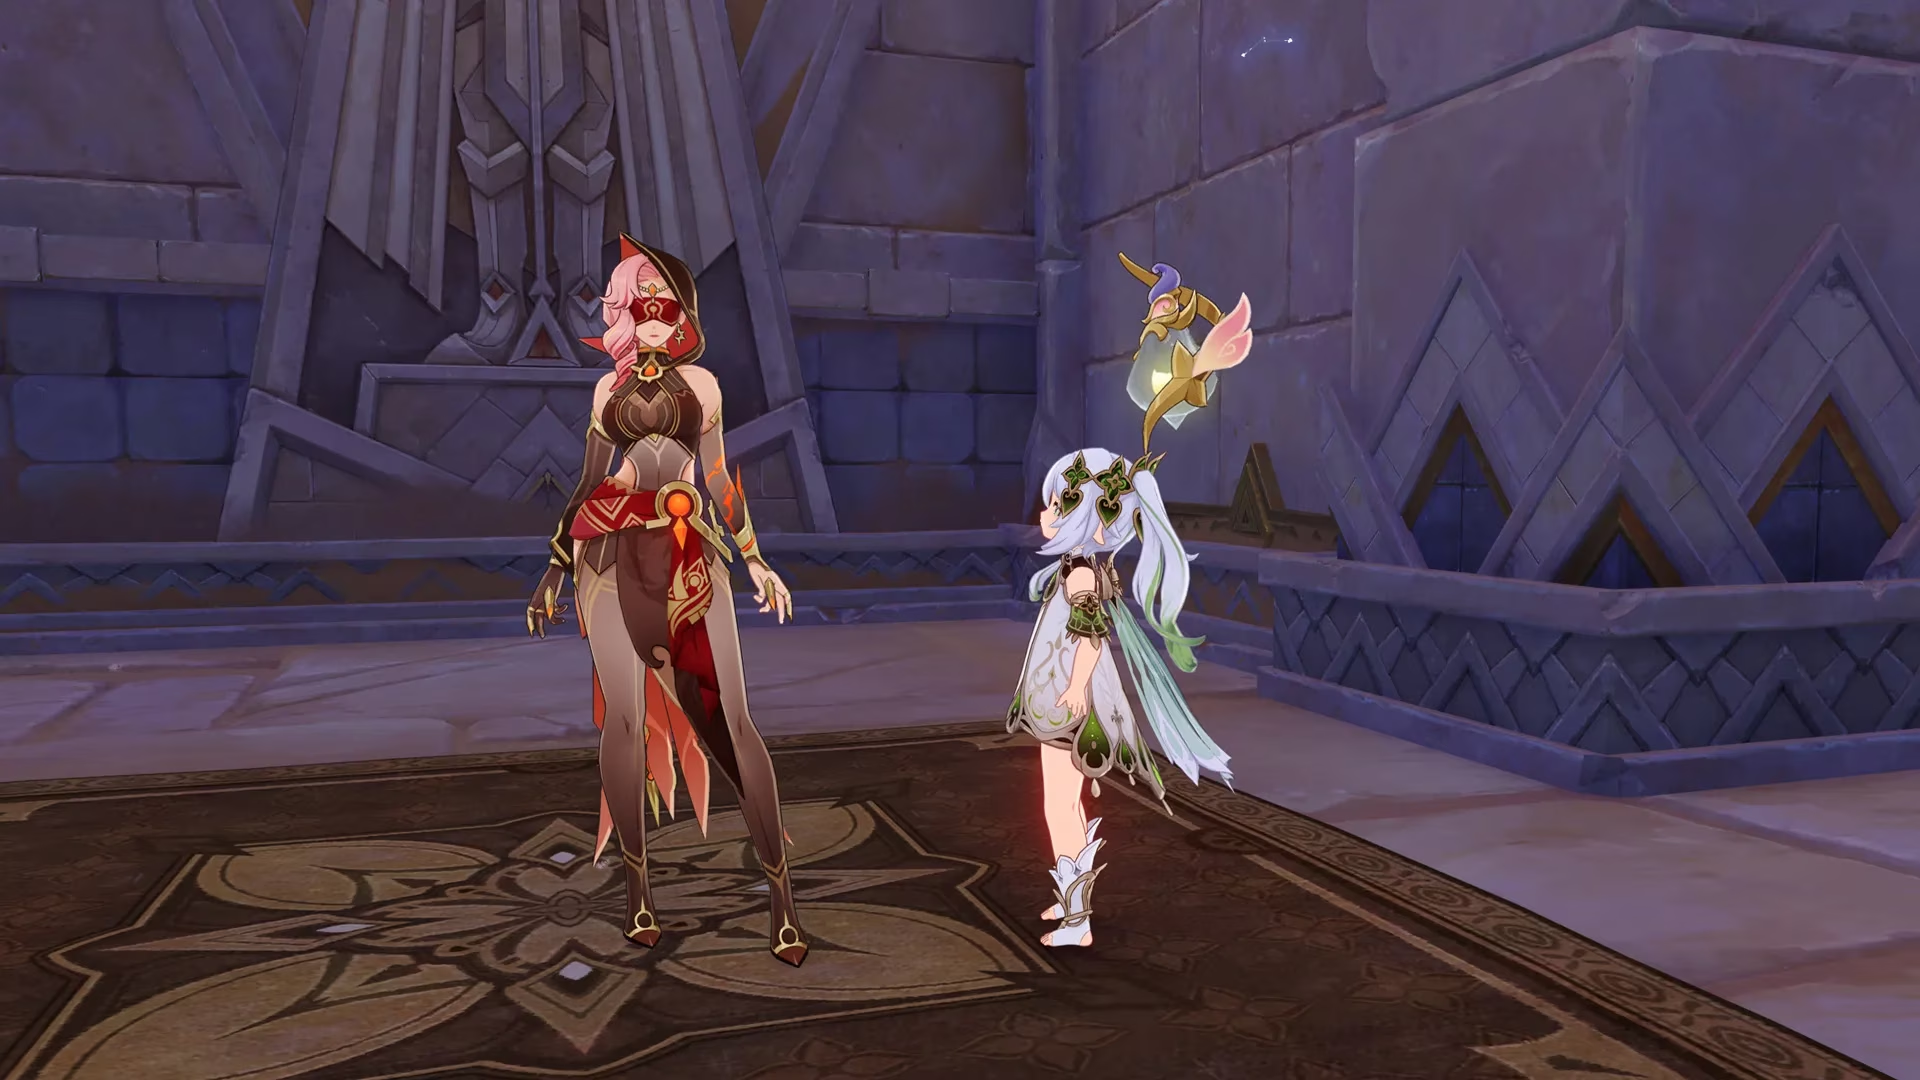
Before diving into the Dirge of Bilqis, there's an important requirement you need to fulfill. The questline automatically initiates upon completing the Golden Slumber World Quest in the Hypostyle Desert. Think of Golden Slumber as your gateway—without finishing it first, you won't be able to access this epic adventure. Once you've wrapped up Golden Slumber, head to Sumeru City and speak with Katheryne at the Adventurers' Guild to officially begin your journey.
Part One: Wisdom Has Built Her House
The opening chapter takes you to the Tanit Camps, where you'll encounter several NPCs who set the stage for your adventure. This section serves as a gentle introduction, easing you into the quest's rhythm:
-
Interact with camp residents to gather information and context
-
Feed the crocodiles by simply standing on designated yellow spots near the river (yes, it's that simple!)
-
Complete additional dialogue with NPCs before visiting Jeht's dwelling
This preliminary section establishes the narrative foundation and introduces key characters you'll encounter throughout the questline. It's relatively straightforward, giving you time to appreciate the environmental storytelling before the real challenges begin.
Part Two: The Temples Forsaken
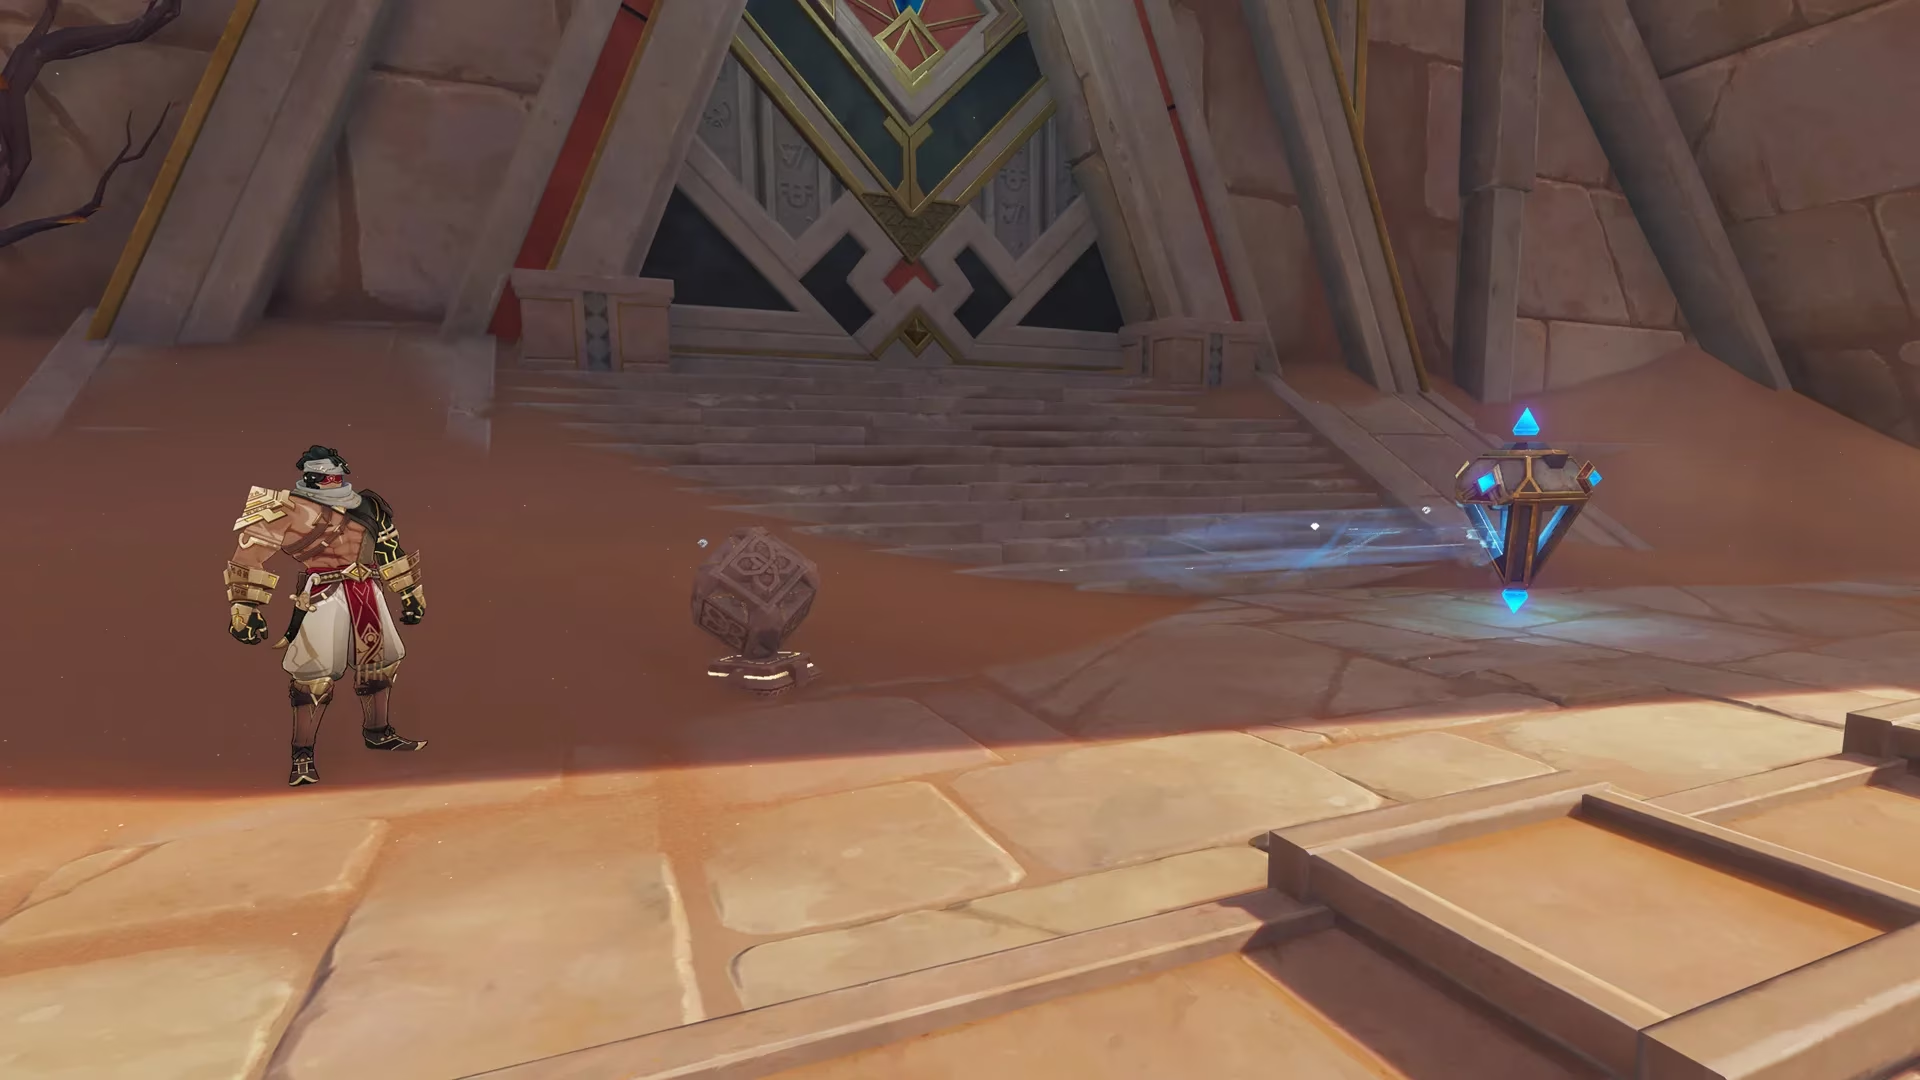
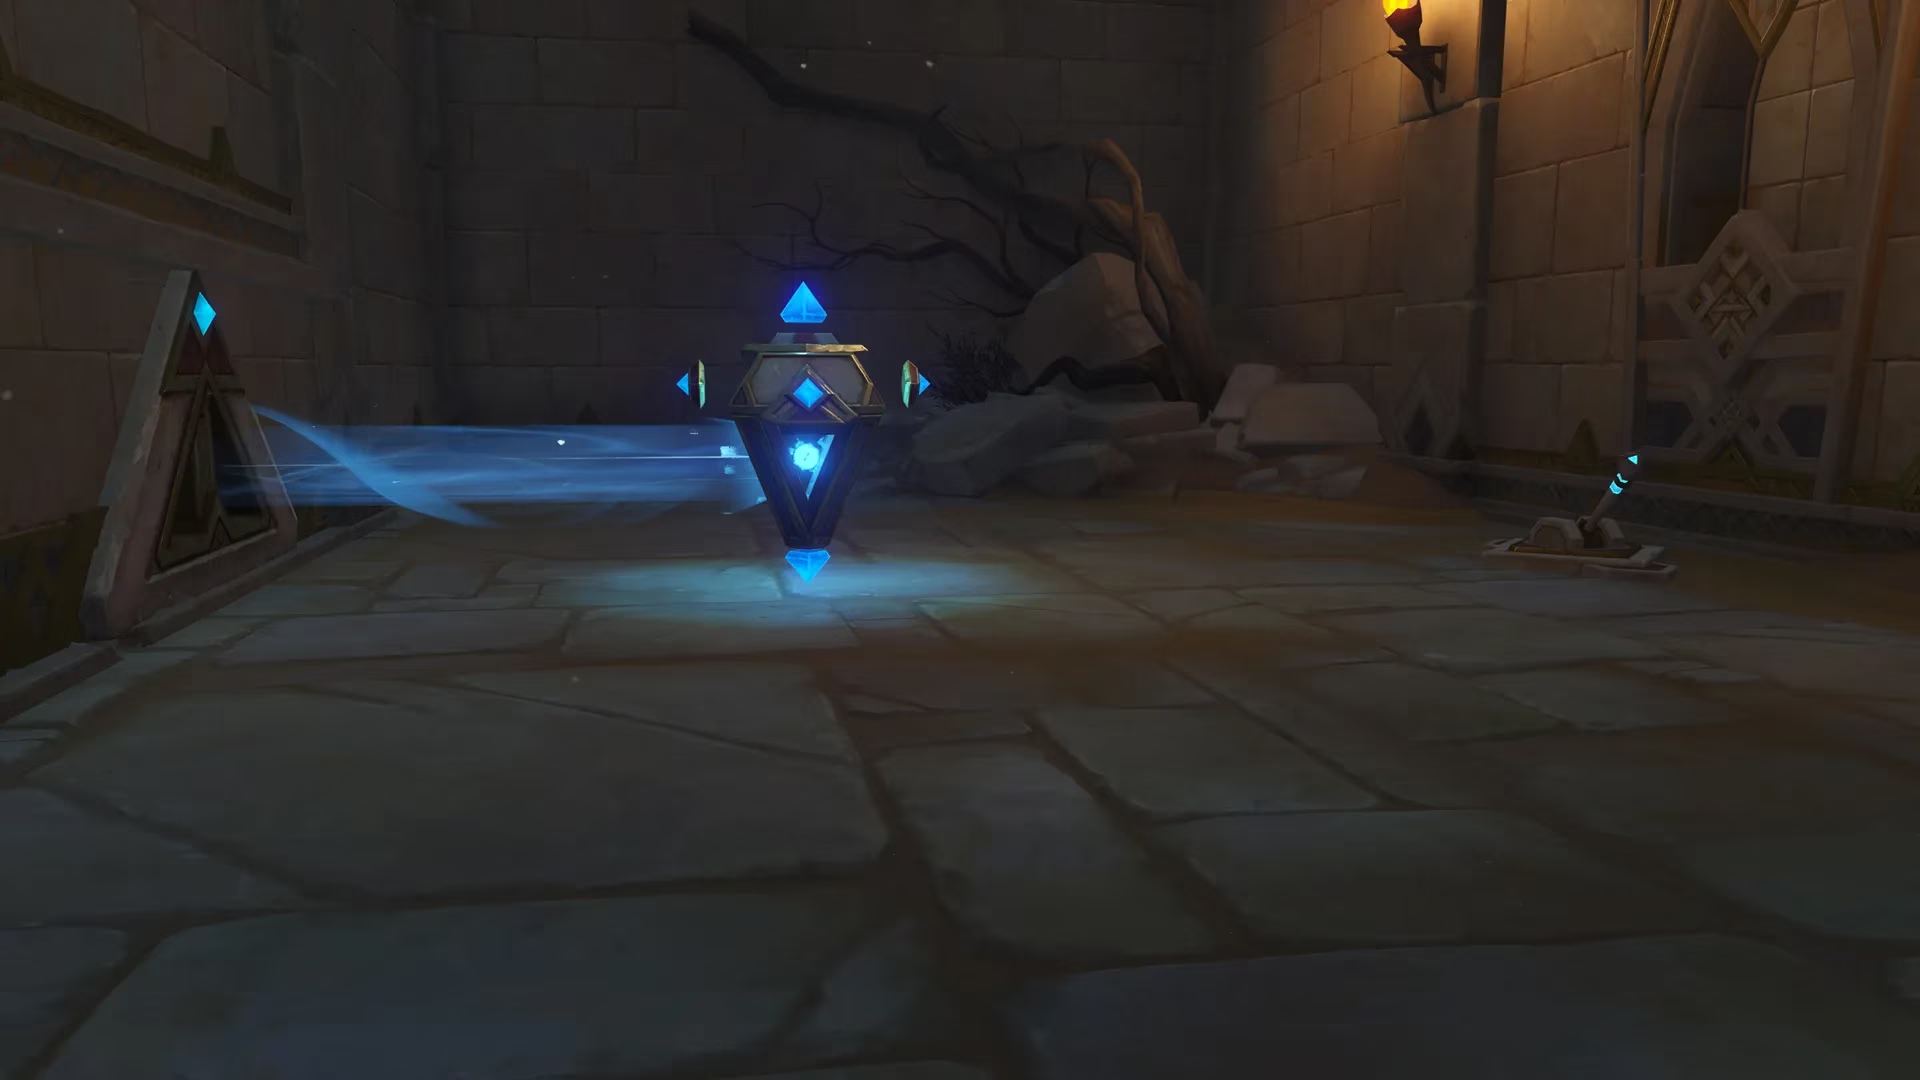
Now things get interesting! Head westward to The Temples Forsaken, where you'll encounter the quest's signature puzzle mechanic: Rune Mechanisms. These large blue pillars control wind currents and door mechanisms, requiring precise manipulation to progress.
Initial Temple Entry
-
Approach the massive temple entrance and speak with Azariq
-
Strike the Rune Mechanism three times to direct the wind current toward the sand-covered mechanism
-
Enter the temple and interact with the device as prompted
Navigating the Temple Interior
The temple interior presents increasingly complex variations of the Rune Mechanism puzzle:
-
First door: Hit the mechanism twice to target the sand-covered door
-
Optional chest: Use the Runic Pane Switch lever, then strike the mechanism once
-
Main chamber puzzle: In the room with the Teleport Waypoint, locate the smaller adjacent room. Hit the mechanism twice, activate the Switch, then hit it twice again
Sequential Puzzle Solutions
After activating the central blue pillar mechanism, you'll follow an eastern path requiring multiple Rune Mechanism interactions. The pattern becomes familiar: strike mechanisms to redirect energy, open doors, and progress deeper into the temple complex. When you encounter the crack in the ground, descend and follow the northwestern path until you loop back to the main temple.
The quest then repeats this structure two more times, with each iteration introducing slight variations. On the third cycle, you'll encounter a more sophisticated puzzle:
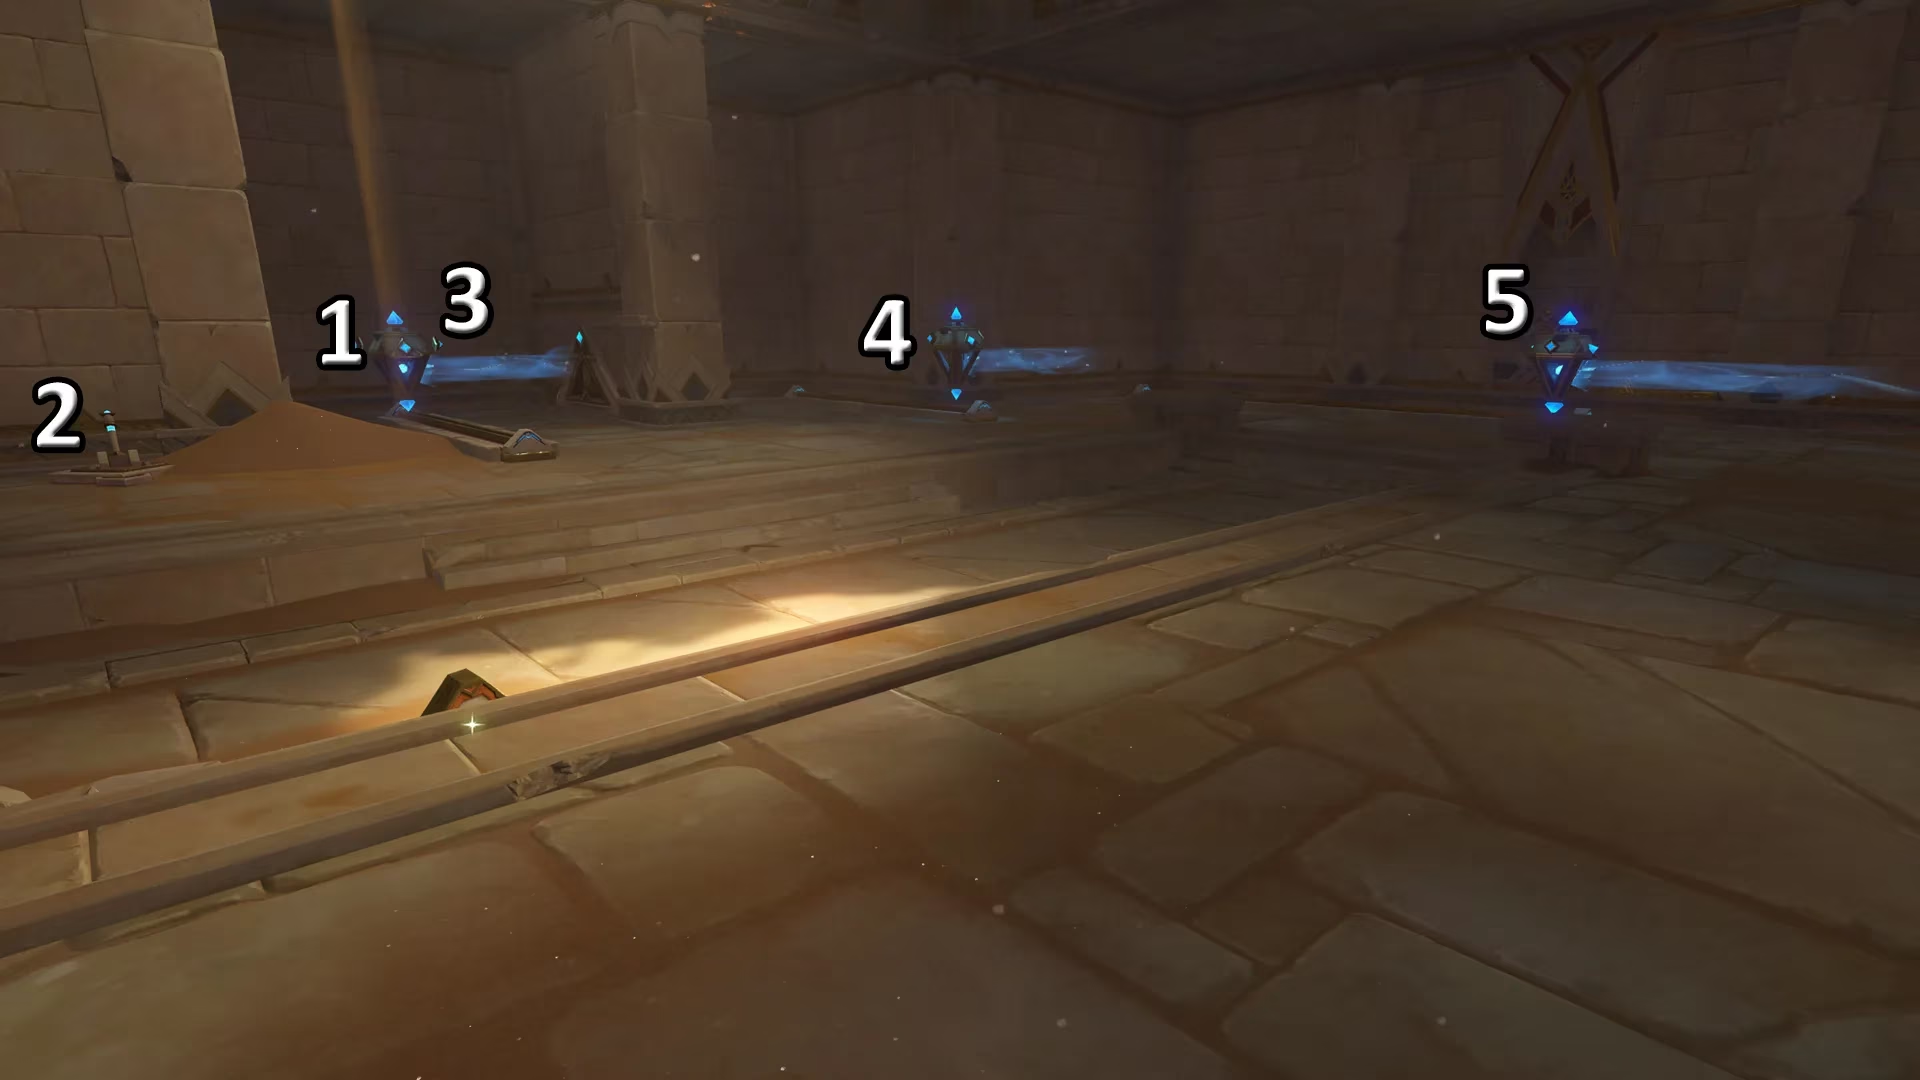
Complex Mechanism Solution:
-
Move the Rune Mechanism to reveal the Runic Pane Switch
-
Activate the Switch
-
Reposition the mechanism and aim it at the neighboring mechanism through the vent
-
Continue targeting subsequent mechanisms until the door unlocks
Boss Encounter: Anoushbord
After activating the central pyramid and claiming your Luxurious Chest, prepare for combat. Return to the temple entrance and cross to the opposite side of the gorge, where you'll face Anoushbord, a formidable Primal Construct boss. What's the key to victory? Bring teammates who can trigger Catalyze reactions—these reactions will dispel the boss's frustrating invisibility state, making the fight significantly more manageable.
Collect the shiny object afterward to obtain the 'Jinni in the Bottle - Liloupar' Gadget, a crucial item for the questline. Navigate through the Eremite camp, then return to Tanit Camp to conclude this section.
Part Three: Passage of Ghouls
The third installment begins at Tanit Camp once more. After speaking with Babel, journey north to the ominously named Passage of Ghouls.
Ravine Navigation
-
Descend to the ravine's bottom to trigger a cutscene
-
Defeat the enemies that appear
-
Interact with blue pillar mechanisms in sequence: middle pillar first, then the inner corner pillar, finally the left pillar
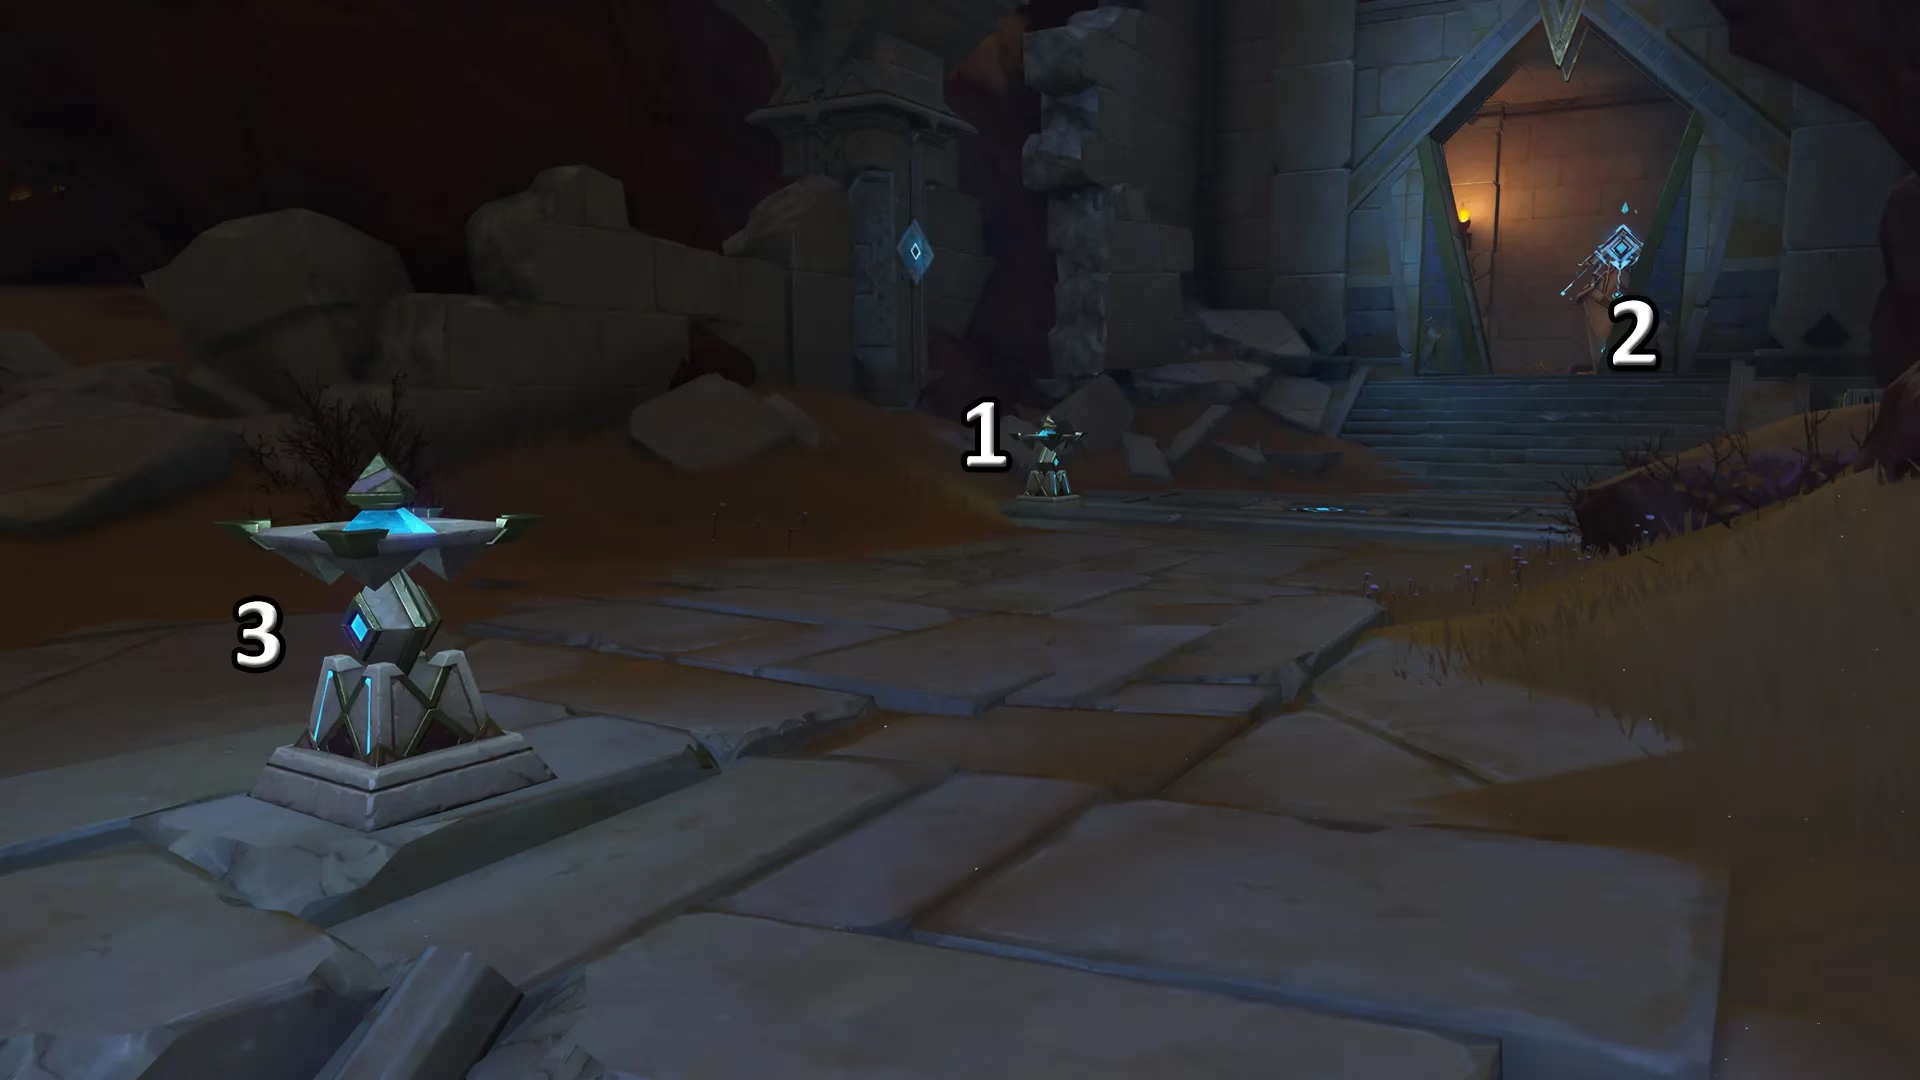
Mechanism Sequence Puzzle
In the large chamber with the ground crack, resist the urge to drop through immediately. Instead, cross to the opposite side and interact with the blue pillar there. This grants access to a critical puzzle area requiring precise mechanism interaction order:
Correct Activation Sequence:
| Step | Action |
|---|---|
| 1 | Activate northwest mechanism |
| 2 | Trigger eastern mechanism |
| 3 | Use central mechanism |
| 4 | Final southwestern mechanism |
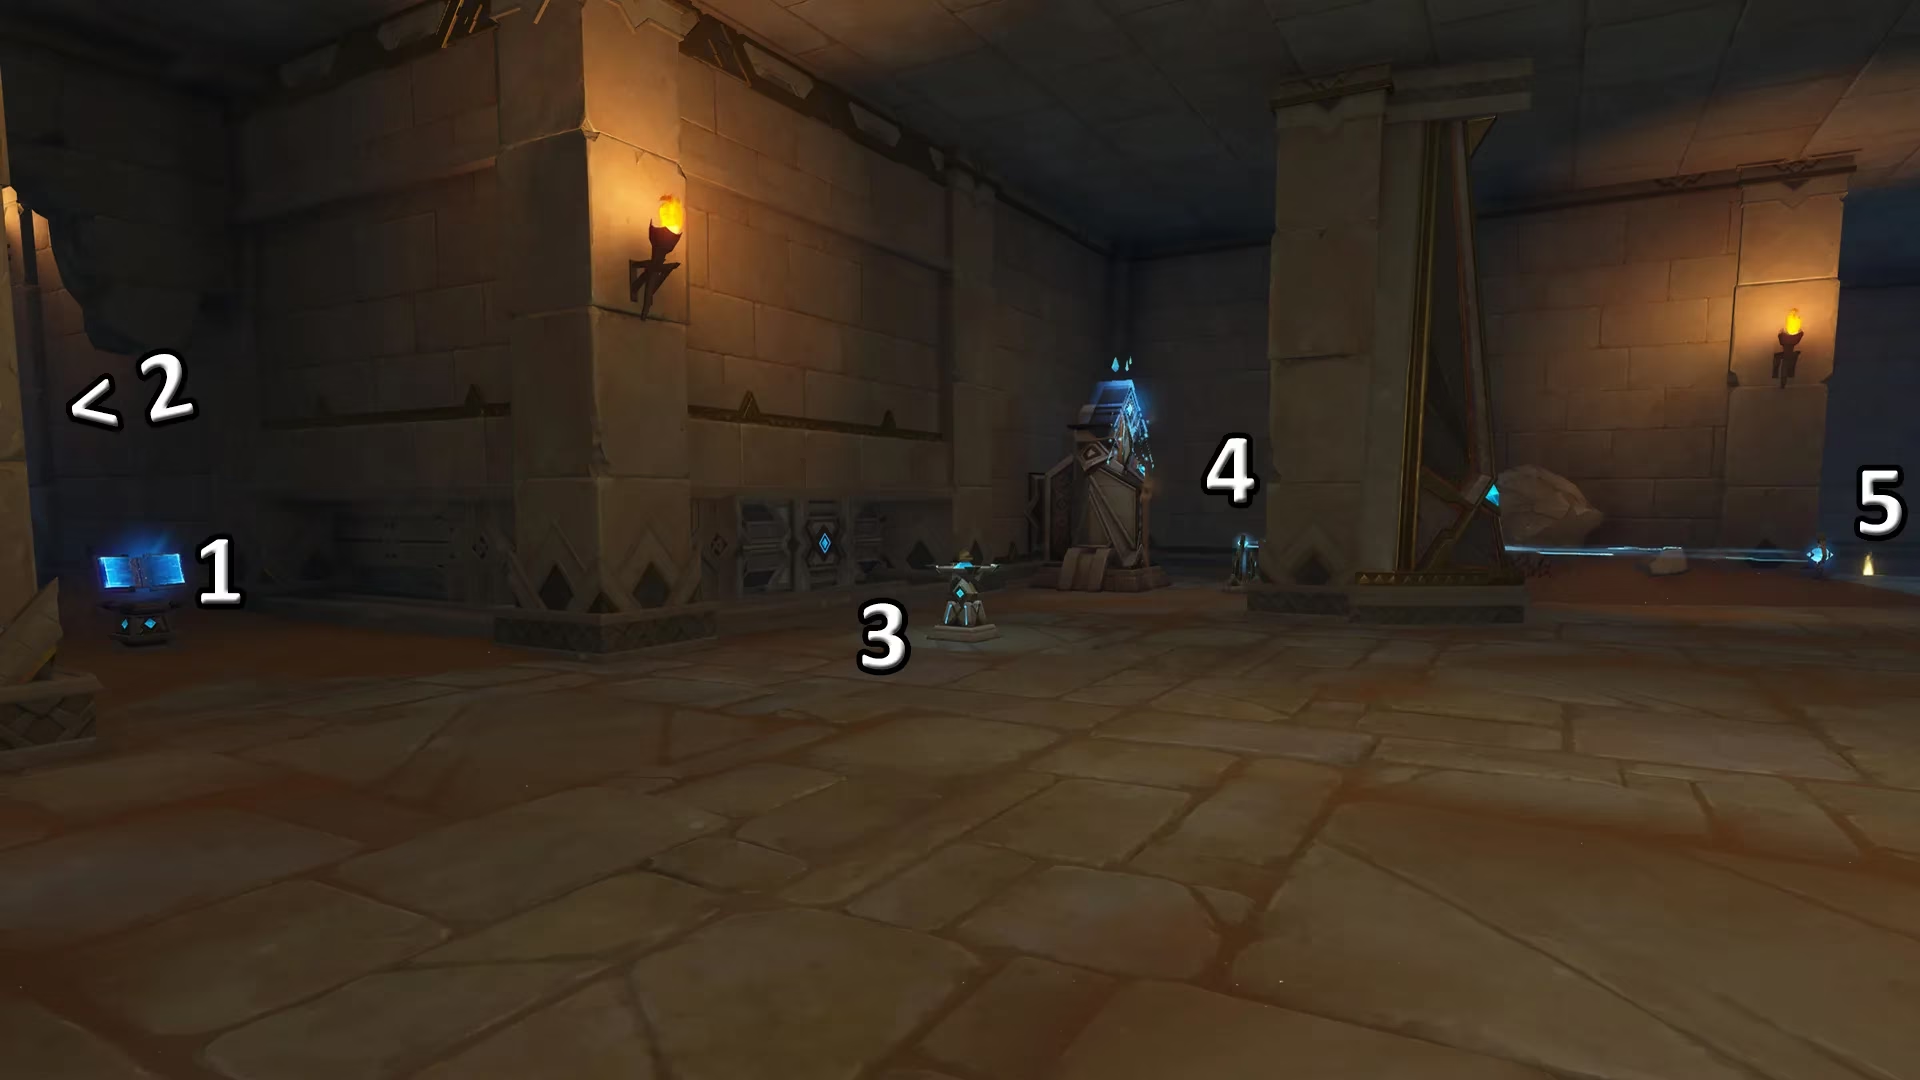
Underground Exploration
Now descend through the crack, sticking to the left path. You'll face two Primal Constructs guarding a large door—defeat them to proceed. Collect the Liloupar shard beyond, then continue deeper into the tunnels. Be ready for an Electro Scorpion encounter that blocks one mechanism along your route.
At the large stone square, activate the mechanism and prepare for a combat challenge involving four Primal Constructs. After emerging victorious, follow the exit path to complete this section.
Part Four: Dunes of Steel Ruin Golem
The fourth chapter takes you to an imposing Ruin Golem in the Dunes of Steel. This section introduces Energy Block puzzles, a refreshing change from the Rune Mechanisms.
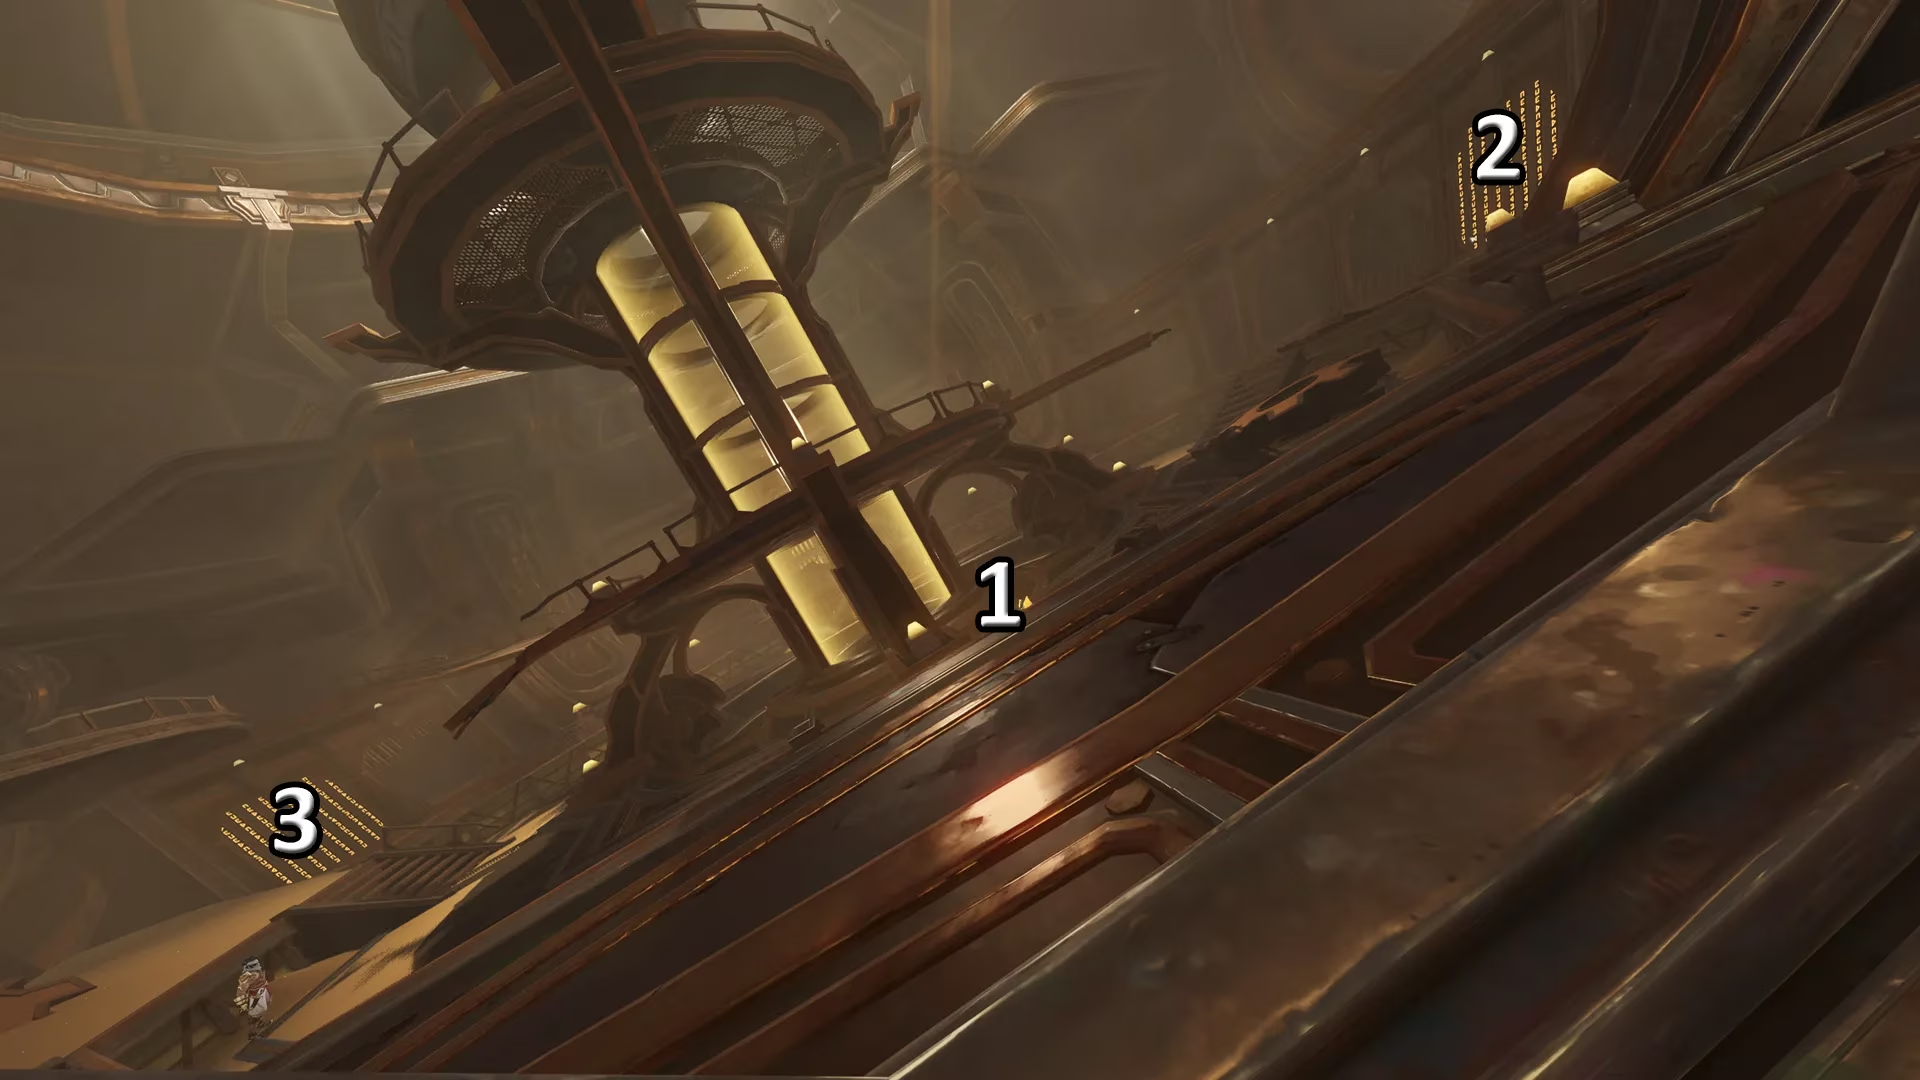
Energy Block Puzzle Mechanics
Initial Room:
-
Use the Four-Leaf Sigils to ascend the Golem's arm
-
Locate three glowing Energy Blocks near the locked door
-
Place blocks strategically to open sequential doors
-
Retrieve and reposition blocks as needed—the first block opens the way to the second, then both unlock the left door
Lower Level:
-
Drop through the central tube
-
Position Energy Blocks on pillars in the area below
-
Take the elevator upward and locate the ground button
Western and Eastern Wing Exploration
After the cutscene, venture west to find two additional Energy Blocks. Attach one to the western pillar, then travel east to activate the second room's pillar. Return to the control room to trigger another cutscene.
Glide northeast through the Golem's arm, then descend the tunnel marked by vibrant purple flowers. You'll unlock a massive door before Azariq issues a warning to "keep your eyes peeled."
Upper Floor Puzzle Solution
The upstairs puzzle requires methodical execution:
✅ Strike the Rune Mechanism
✅ Use the revealed blue pillar
✅ Interact with the second blue pillar
✅ Return downstairs to find a new left-hand room
✅ Activate the blue pillar inside to unlock the sealed door mechanism
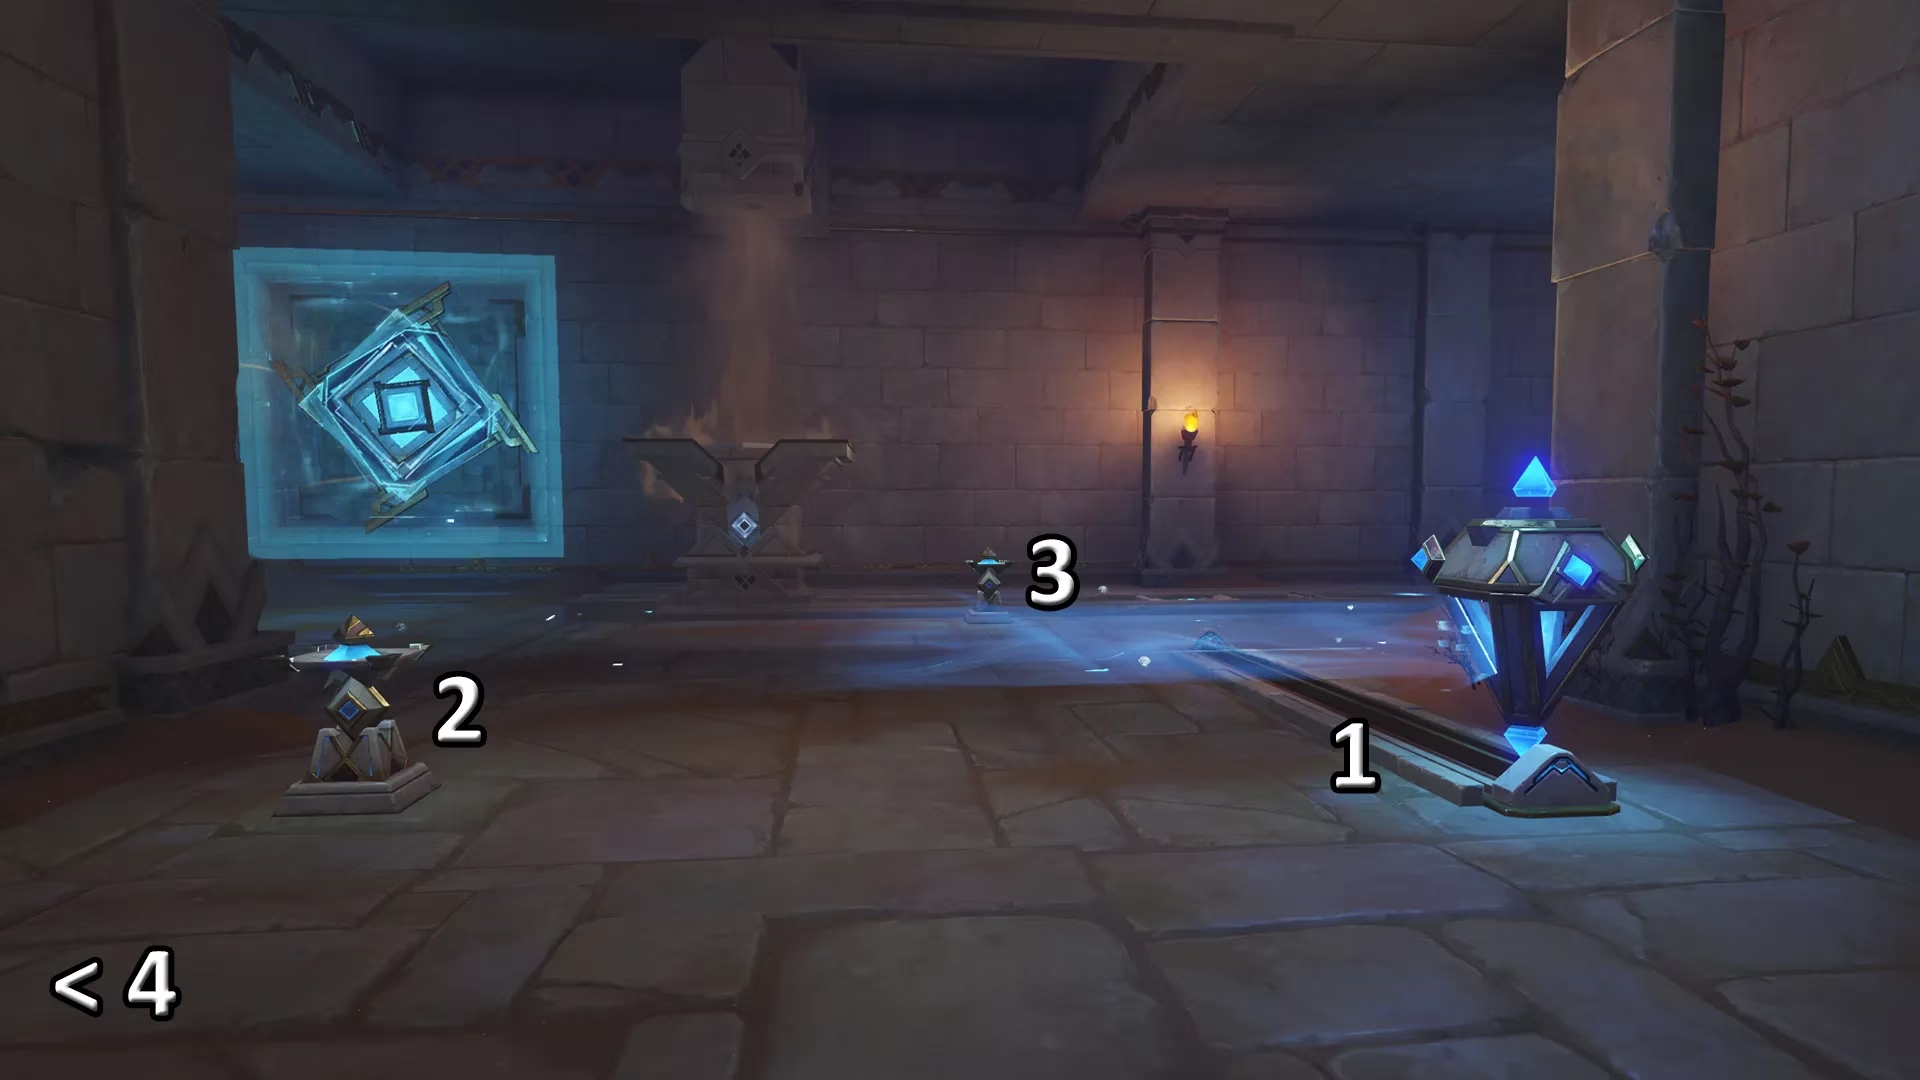
Blue Orb Navigation
Ascend the stairs and guide the blue orb to the large stone pillar. Descend again to collect another Liloupar shard. The second blue orb presents a rotation puzzle: rotate the central beam to release the left orb, then rotate again to halt the fan, allowing the orb to rise.
This unlocks a door leading to an extremely deep tunnel—prepare for a long descent! At the stone square, activate the mechanism and face two Primal Constructs along with various Fungi and Shroom enemies. Surface afterward to conclude this chapter.
Part Five: Final Confrontations
The penultimate section intensifies with multiple combat encounters and intricate puzzles:
Combat Sequences
-
Eremite Ambush: After gliding down from the Golem, prepare for an Eremite assault
-
Fatui Confrontation: Shortly after, you'll face Fatui forces outside
Deep Descent Puzzles
Navigate through the Golem using Four-Leaf Sigils, then descend while interacting with blue pillars. After activating the Teleport Waypoint, use the Sigils to cross the enormous room gap.
First Puzzle: Access the left room's blue pillar, then the central room's pillar before descending stairs.
Second Puzzle (Beam Rotation):
-
Rotate left beam first
-
Rotate right beam to spawn Common Chest
-
Rotate right beam again to open sealed door
-
Interact with blue pillar behind door
-
Activate the spawning blue pillar in main room
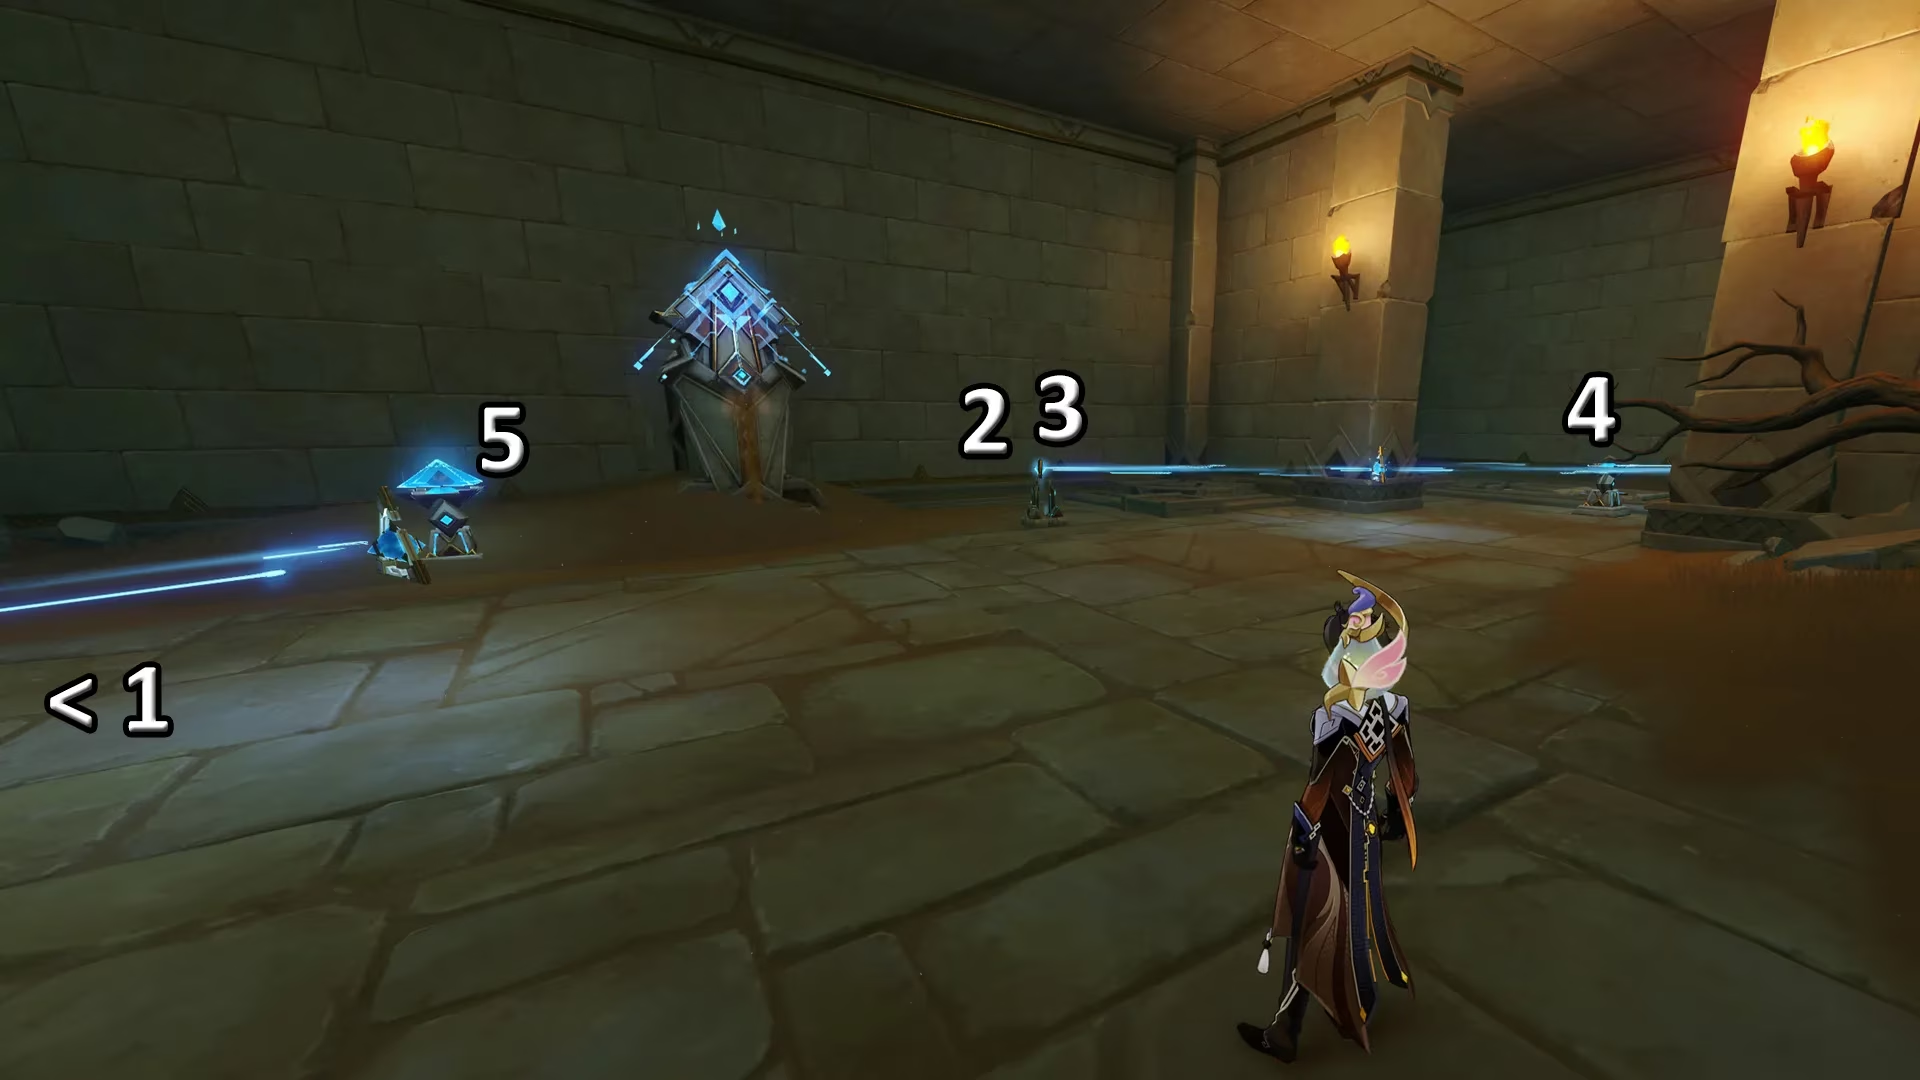
Hidden Liloupar Shard
When you reach the staircase, don't rush forward! Drop down and turn around—there's a concealed room beneath the stairs containing the Liloupar shard you need. This easily-missed collectible is essential for quest progression.
Final Combat Challenges
The large stone square hosts another combat trial: two Primal Constructs followed by a formidable Flying Serpent. After victory, locate the elevator platform, but don't expect a free ride—multiple Primal Construct waves must be defeated before you can use it.
Follow the post-elevator tunnel to reach the breathtaking Eternal Oasis, marking this section's completion.
Part Six: Eternal Oasis Conclusion
You've nearly reached the end! Navigate to the island at the lake's center and collect the final Liloupar shard. Now comes the emotional payoff—accompany Jeht as she pays respects to her parents. 😢
Her mother's notebook lies on the ground if you wish to read it (tissues recommended!). Finally, return to Tanit Camps and speak with Babel one last time.
Congratulations! You've conquered the Genshin Impact Dirge of Bilqis World Quest! 🎉
Key Takeaways
Essential Tips for Success:
-
⚡ Bring Catalyze-capable characters for boss fights
-
🔍 Check beneath staircases for hidden collectibles
-
🧩 Master Rune Mechanism patterns early—they repeat frequently
-
💎 Don't skip optional chests; they're worth the detour
-
🗺️ Activate all Teleport Waypoints to minimize backtracking
This expansive questline represents some of Genshin Impact's finest environmental puzzle design, rewarding patient exploration and methodical problem-solving. The journey through ancient temples, colossal Ruin Golems, and ultimately the serene Eternal Oasis creates an unforgettable adventure that perfectly showcases the Desert of Hadramaveth's mysterious allure.
Have you tackled this questline yet? What puzzle gave you the most trouble? The intricate Rune Mechanism sequences or the Energy Block logistics? Whatever challenges you faced, you now have the comprehensive knowledge to guide fellow Travelers through this remarkable adventure!