Navigating the vast and wondrous world of Teyvat in Genshin Impact is a journey filled with countless secrets and challenges. Among these, the Time and the Wind quest stands out as a particularly memorable and brain-teasing adventure. It's a quest that has stumped many a Traveler with its cryptic instruction to "observe the shadow on the sundial." For those who have found themselves staring at that ancient stone circle, puzzled and unsure, this guide will walk you through every step, from finding the hidden island to defeating the elusive Eye of the Storm. Let's unravel this mystery together.
Initiating the Quest: Journey to the Unnamed Isle
The quest begins not with a formal acceptance from an NPC, but with an act of exploration. You must venture to a small, unnamed island located off the northeastern coast of Mondstadt. The most reliable landmark for this journey is Starsnatch Cliff. From its highest point, gaze out over the sea towards the northeast. You should spot a solitary island in the distance. This is your destination.
💡 Pro Tip: The distance is considerable. Ensure your stamina is high, and consider using characters like Venti, Kazuha, or the Anemo Traveler, whose skills can aid in gliding. Alternatively, you can use Kaeya's Cryo skill to freeze a path across the water, though this is a slower method.
Upon landing on the island, your first task is to locate the Ragged Notebook. Search near a small, abandoned campsite. You'll likely find it hidden under or beside a breakable rock formation. Interacting with this notebook provides the cryptic clue that sets the entire quest in motion: you must "observe the shadow on the sundial."
Phase One: Solving the First Sundial Puzzle
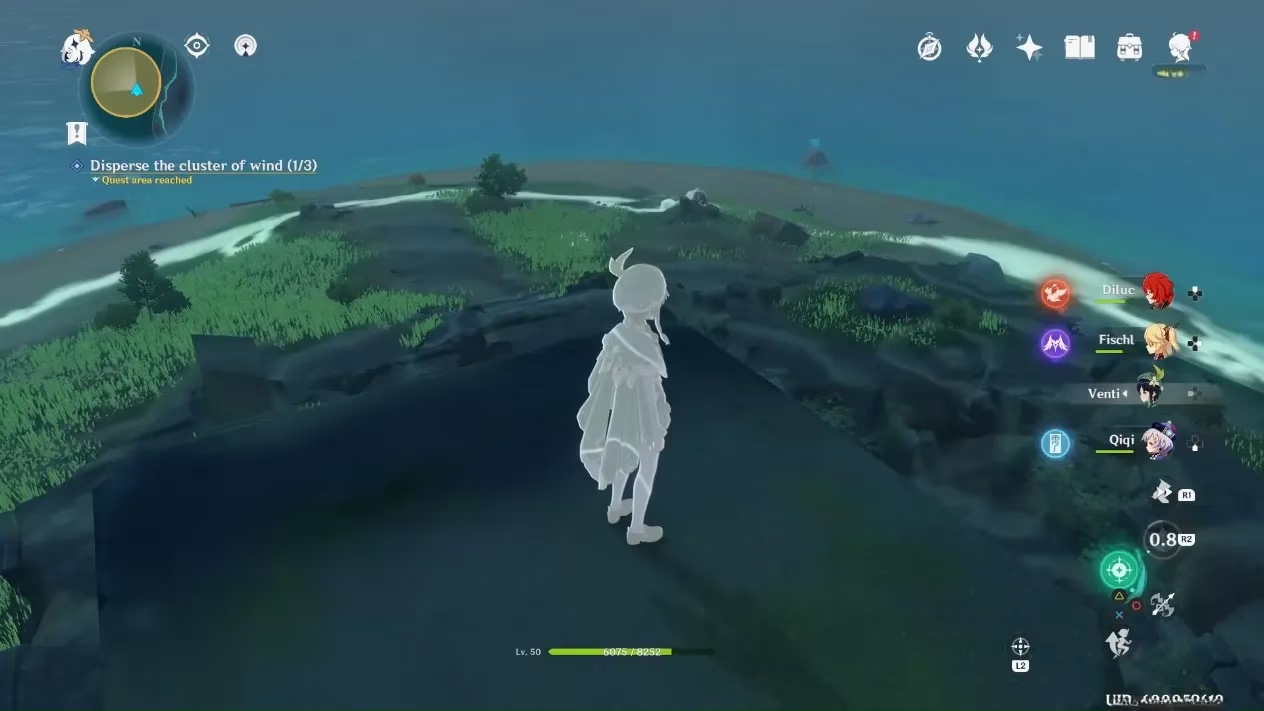
Head to the center of the island, where you'll find a large stone sundial on an open platform. This is the heart of the puzzle.
-
Activate Elemental Sight: Stand near the sundial and use your elemental vision (middle mouse button on PC). Four Anemo orbs will become visible. The first one is typically floating just behind the sundial itself.
-
Disperse the Orbs: You must hit each orb with an Anemo attack. For the first orb, you may need to jump and climb on the surrounding stone pillars to get within range. A simple Anemo skill from the Traveler or any other Anemo character will do the trick.
-
Locate the Remaining Orbs: After dispersing the first orb, the other three will spawn in set locations:
-
Orb Two: Use elemental sight again from the sundial. You should see a faint, glowing path leading up one of the taller stone pillars nearby. Climb to the top, and you'll find the second orb.
-
Orb Three: From the top of that pillar, look north over the water. You should see the third orb hovering above a small, distant rock. Glide down and disperse it.
-
Orb Four: The final orb is on the opposite side of the island, hovering above the water off the southern beach. A ranged Anemo attack (like from Venti or a bow character with Anemo infusion) is the easiest way to reach it.
-
The First Confrontation and the Chase
Once all four orbs are dispersed, return to the sundial. A cutscene will trigger, summoning a powerful storm and a boss enemy: the Eye of the Storm. Prepare for a fight!
| Boss: Eye of the Storm | Key Details |
|---|---|
| Element | Anemo |
| Key Mechanics | Floats high, summons tornadoes, and fires Anemo projectiles. |
| Recommended Elements | Pyro, Electro, Cryo, Hydro (Any element except Anemo or Geo for effective reactions). |
| Strategy | Use bow characters or melee characters with good reach. Attack during its vulnerable periods after it finishes an attack sequence. |
After dealing significant damage, the Eye of the Storm will not be defeated. Instead, it will flee across the sea. You must follow its trail of wind currents all the way to the Thousand Winds Temple in Mondstadt.
Phase Two: The Puzzle Repeats at the Temple
At the Thousand Winds Temple, you will find another, larger sundial. The puzzle resets, but with a crucial twist.
-
Adjust the In-Game Time: Open the Paimon menu and manually set the time to between 2:00 AM and 5:00 AM. Many players find 2:00 AM to be the most reliable.
-
Repeat the Process: Just like on the island, use your elemental sight near this new sundial. Several more Anemo orbs will appear around the temple ruins. They are often perched on high ledges, broken pillars, and archways.
-
Hunt and Dispel: Use your Anemo abilities to disperse all the orbs. This may require more parkour and exploration than the first set.

The Final Battle and Rewards
Dispersing the final orb at the temple will summon the Eye of the Storm once more, this time for a decisive battle. Defeat it here to finally complete the Time and the Wind quest.
Your perseverance will be rewarded with a variety of valuable items:
-
Adventure EXP (a significant amount for early-game players).
-
Primogems (the premium currency).
-
Mora (the game's standard currency).
-
Enhancement Ores for leveling weapons.
-
Character EXP Materials.
-
Access to a Luxurious Chest on the original unnamed island, which often contains an Acquaint Fate (a standard wish).
Why This Quest Matters
Beyond the tangible rewards, the Time and the Wind quest is a rite of passage for Genshin Impact players. It teaches critical problem-solving skills, encourages thorough exploration without explicit markers, and introduces mechanics that become important in later world puzzles. Successfully completing it provides a deep sense of accomplishment and a great story to tell other Travelers.
So, the next time you're gliding over the sea from Starsnatch Cliff, remember the lonely sundial and the secret it holds. With this guide in hand, you're now equipped to solve its ancient mystery and claim your well-earned treasure. Happy exploring, and may the wind guide your path!